Create a Workflow
Set up a new workflow in your project, assign it to a team, and prepare it for stages and agent assignments.

This page shows how to do it manually. The faster, more common way is to describe what you want to the Workflow Assistant — it builds the team, stages, agents, and assignments for you, then you fine-tune by hand using the steps below.
Prerequisites
- An existing project (see Create a Project)
- At least one team in the project (see Build a Team)
Steps
1. Navigate to Workflows
Open your project in the sidebar and click Workflows. This shows all workflows in the project.
2. Click "New Workflow"
Click the New Workflow button in the page header. The workflow creation form opens.
3. Enter the workflow name
Give the workflow a clear, descriptive name that reflects its purpose (e.g., "Content Research Pipeline", "Customer Support Triage", "Weekly Report Generator").
4. Write a description
The description explains what this workflow accomplishes. It is used by the AI assistant and provides context for anyone reviewing the workflow later.
Include the workflow's goal, expected inputs, and outputs in the description. This helps both human operators and the AI assistant understand the workflow's purpose.
5. Assign a team
Select the team that will execute this workflow from the dropdown. Only teams within the current project are available.
The team's agents become available for stage assignments once the workflow is created. You can change the team later, but existing stage assignments reference agents from the assigned team.
Changing a workflow's team after stages and assignments are configured may break existing assignments if the new team does not have the same agents.
6. Configure "Awaits User Input" (optional)
Toggle Awaits User Input if the workflow requires human interaction during execution. When enabled:
- The workflow can pause at stages where an agent sends a question to the user
- Trigger nodes in the visual builder display a warning label indicating user input is required
Leave this off for fully automated workflows.
7. Set the maximum runtime (optional)
In the same settings panel, the Max runtime (hours) field sets a per-workflow ceiling on how long any single run may take. If a run exceeds this limit, it is stopped automatically.
- Default: 10 hours (applies to every existing and new workflow).
- Range: 30 minutes to 7 days (168 hours).
- Raise it for long research or due-diligence runs that legitimately take many hours.
- Lower it if you want a stuck or runaway run caught sooner.
Each workflow keeps its own limit, so a quick triage workflow and a multi-day research workflow can have very different ceilings.
8. Save the workflow
Click Create Workflow. You are redirected to the workflow show page. The page opens on the Visual tab -- the Workflow Builder canvas (graph view) -- where you add and edit stages. Alongside it are the Runs, Memory, Progression, and Triggers tabs. There is no separate Stages tab: stages are created and configured directly on the canvas (see Add Stages).
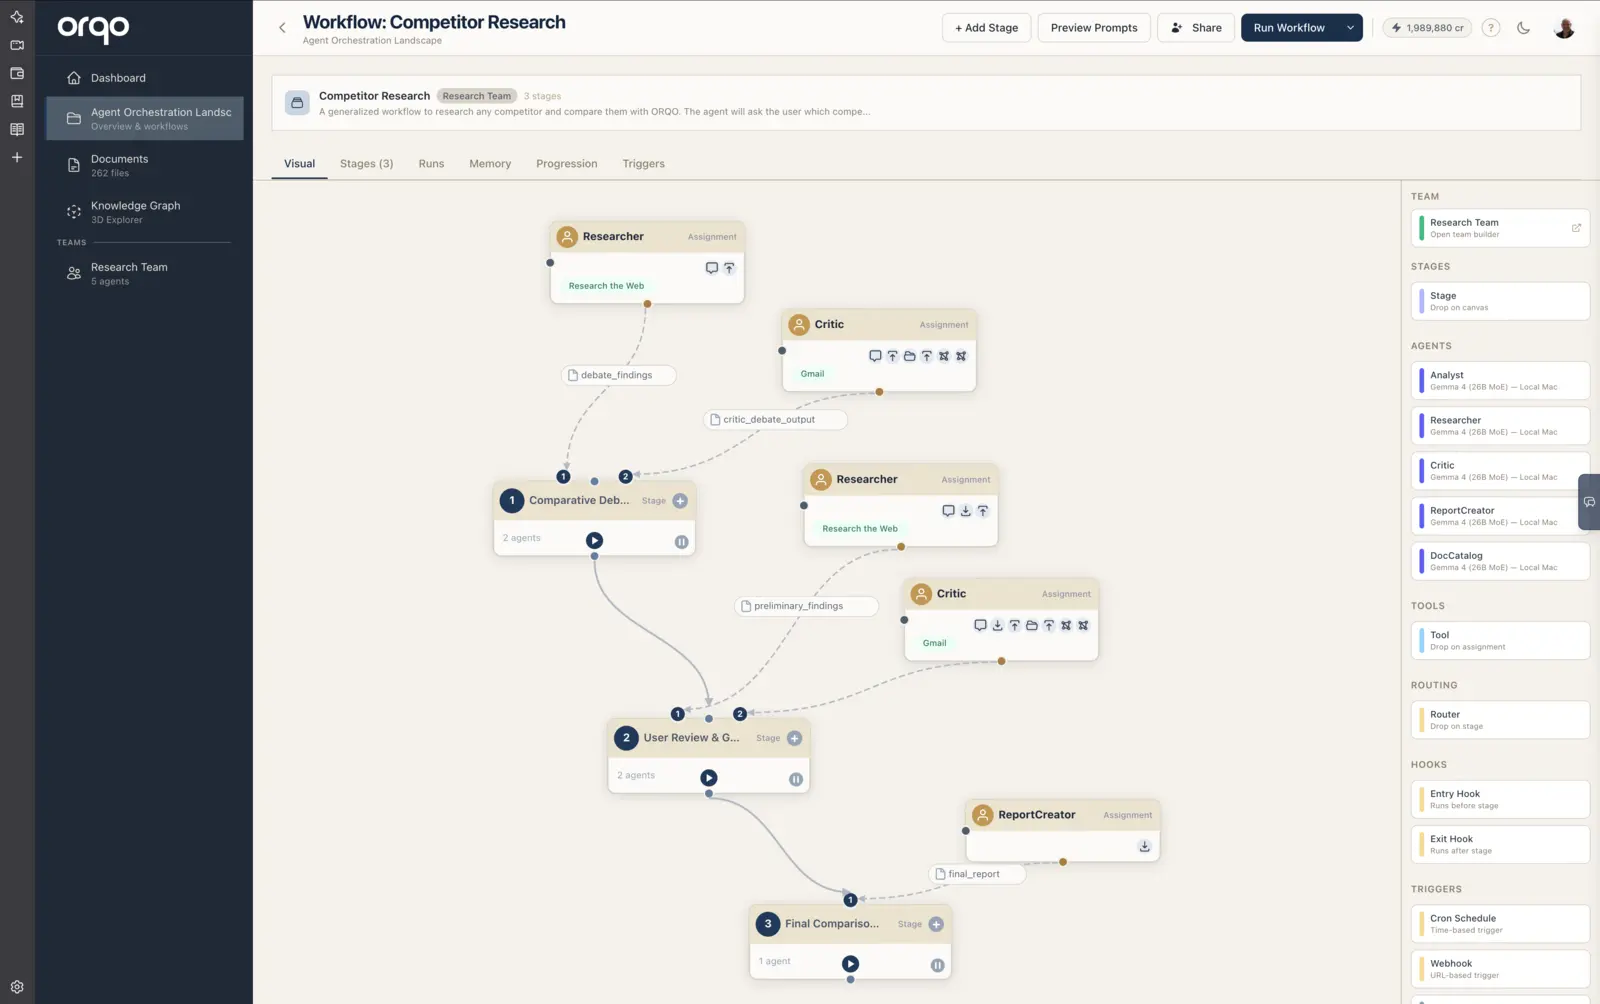
9. Explore the Visual Builder
The Visual Builder shows an empty canvas. The sidebar palette on the left has sections for:
- Stages -- Drag a Stage card onto the canvas to add a stage
- Notes -- Drag a sticky note onto the canvas to annotate the workflow (see below)
- Team / Agents -- The assigned team's button (click it to open the Team Builder) above its agents, ready to drag onto stages
- Tools -- Drag onto assignment nodes to open the tool configuration
- Routing -- Drag onto stages to configure outcome routing
- Hooks -- Drag entry or exit hooks onto stages
- Triggers -- Drag to create cron schedules
You are now ready to add stages and assign agents.
10. Annotate the canvas with sticky notes
Complex branching workflows can be hard to read at a glance. Sticky notes let you leave freeform annotations directly on the canvas -- reminders, section labels, or open questions for your collaborators.
- Add a note -- Drag the Sticky Note card from the Notes section of the palette onto the canvas.
- Edit the text -- Double-click the note and type. Click away to save.
- Change the color -- Click the small color dot in the note's lower-left corner to cycle through yellow, green, blue, and pink.
- Move it -- Drag the note anywhere on the canvas. Its position is saved automatically.
- Delete it -- Click the × in the note's upper-right corner.
Sticky notes are purely decorative. They annotate the canvas for you and your teammates but have no effect on how the workflow runs.
What's next
- Add Stages to define the workflow's step sequence
- Set Up Assignments to assign agents to stages
- Use the AI Assistant to build the workflow through conversation
- Share the workflow with a teammate -- Inspector or Runner mode