Create a Trigger
Set up automatic workflow execution using schedule, webhook, or app event triggers. Schedule triggers fire on a recurring cron schedule; webhook triggers fire when an external system sends an HTTP POST to a unique URL; app event triggers fire when an installed App delivers one of its own events (such as a Google Mail integration emitting email_received).

This page shows how to do it manually. The faster, more common way is to describe what you want to the Workflow Assistant — it builds the team, stages, agents, and assignments for you, then you fine-tune by hand using the steps below.
Prerequisites
- A workflow with at least one stage and agent assignments (see Add Stages)
- The workflow must not have "Awaits User Input" enabled (triggers cannot prompt for input)
Create a Schedule Trigger
Schedule triggers fire at recurring intervals defined by a cron expression or natural language description.
1. Open the Runs & Triggers tab
Navigate to your workflow and click the Runs & Triggers tab (tab 2). The top section shows trigger cards; the bottom section shows run history.
2. Click "New Trigger"
Click the New Trigger button and select Cron Schedule as the trigger type. A new trigger card appears with a form to configure the schedule.
3. Name the trigger
Give the trigger a descriptive name that reflects its schedule purpose (e.g., "Daily Morning Run", "Weekly Report", "Hourly Check").
4. Enter a schedule
Type a schedule in the Schedule field. You can use either format:
Natural language:
every day at 9amevery Monday at 2:30pmevery 6 hoursfirst day of the month at midnight
Cron expressions:
0 9 * * *(daily at 9:00 AM)0 14 * * 1(Mondays at 2:00 PM)0 */6 * * *(every 6 hours)0 0 1 * *(first of the month at midnight)
ORQO uses the Fugit parser, which understands both natural language descriptions and standard cron syntax.
Natural language schedules are converted to cron expressions automatically. The original description is preserved and displayed alongside the cron expression for readability.
5. Set the timezone
Select a timezone from the dropdown. The trigger fires according to the selected timezone. Defaults to UTC if not specified.
6. Set optional date bounds
You can constrain when the trigger is active:
- Starts at -- The trigger does not fire before this date/time
- Ends at -- The trigger stops firing after this date/time
Leave both blank for an indefinitely recurring trigger.
7. Enable the trigger
Toggle the Enabled switch to activate the trigger. Disabled triggers are saved but do not fire.
Enabling a trigger on a workflow that has "Awaits User Input" turned on will fail validation. Disable user input prompting on the workflow first, or use manual runs for workflows that need task descriptions.
8. Save the trigger
Click Save. The trigger card updates to show the human-readable schedule, timezone, next fire time, and enabled status.
Common schedule patterns
| Schedule | Cron | Use case |
|---|---|---|
every day at 9am | 0 9 * * * | Daily reports, morning digests |
every hour | 0 * * * * | Monitoring, polling checks |
every Monday at 8am | 0 8 * * 1 | Weekly summaries |
every 15 minutes | */15 * * * * | Frequent data syncs |
first day of the month | 0 0 1 * * | Monthly aggregations |
Create a Webhook Trigger
Webhook triggers give your workflow a unique URL that external systems can POST to.
1. Open the Runs & Triggers tab
Navigate to your workflow and click the Runs & Triggers tab.
2. Click "New Trigger"
Click the New Trigger button and select Webhook as the trigger type.
3. Name the trigger
Give the trigger a descriptive name that reflects its purpose (e.g., "GitHub Push", "Email Inbound", "Zapier Trigger").
4. Save the trigger
Click Save. ORQO generates a unique webhook URL and displays it on the trigger card. The URL looks like:
https://orqo.ooopps.com/api/v1/hooks/Kx7mP2qR...43-char-token
5. Copy the webhook URL
Click the copy button next to the URL to copy it to your clipboard.
6. Register the URL with the external system
Paste the webhook URL into the external service's webhook or notification settings. For example:
GitHub:
- Go to your repository's Settings > Webhooks > Add webhook.
- Paste the webhook URL as the Payload URL.
- Set content type to
application/json. - Choose which events should trigger the webhook.
Zapier:
- Create a new Zap with a trigger step.
- Add an action step using the Webhooks by Zapier app.
- Choose POST and paste the webhook URL.
- Configure the request body with the data you want to send.
CI/CD pipeline (GitHub Actions example):
- name: Notify ORQO
  run: |
    curl -X POST "${{ secrets.ORQO_WEBHOOK_URL }}" \
      -H "Content-Type: application/json" \
      -d '{"event": "build_complete", "status": "${{ job.status }}"}'
7. Test the webhook
Send a test POST to verify the integration:
curl -X POST https://orqo.ooopps.com/api/v1/hooks/YOUR_TOKEN \
  -H "Content-Type: application/json" \
  -d '{"test": true, "message": "Hello from curl"}'
A successful response returns:
{
  "workflow_run_id": 42,
  "session_id": "sess_abc123",
  "status": "started"
}
Check the Runs & Triggers tab to see the new workflow run appear in the run history.
8. Enable or disable
Use the toggle on the trigger card to enable or disable the webhook. Disabled webhooks reject incoming requests with a 409 Conflict response.
Treat webhook URLs like secrets. Anyone with the URL can fire your workflow. If a URL is compromised, delete the trigger and create a new one.
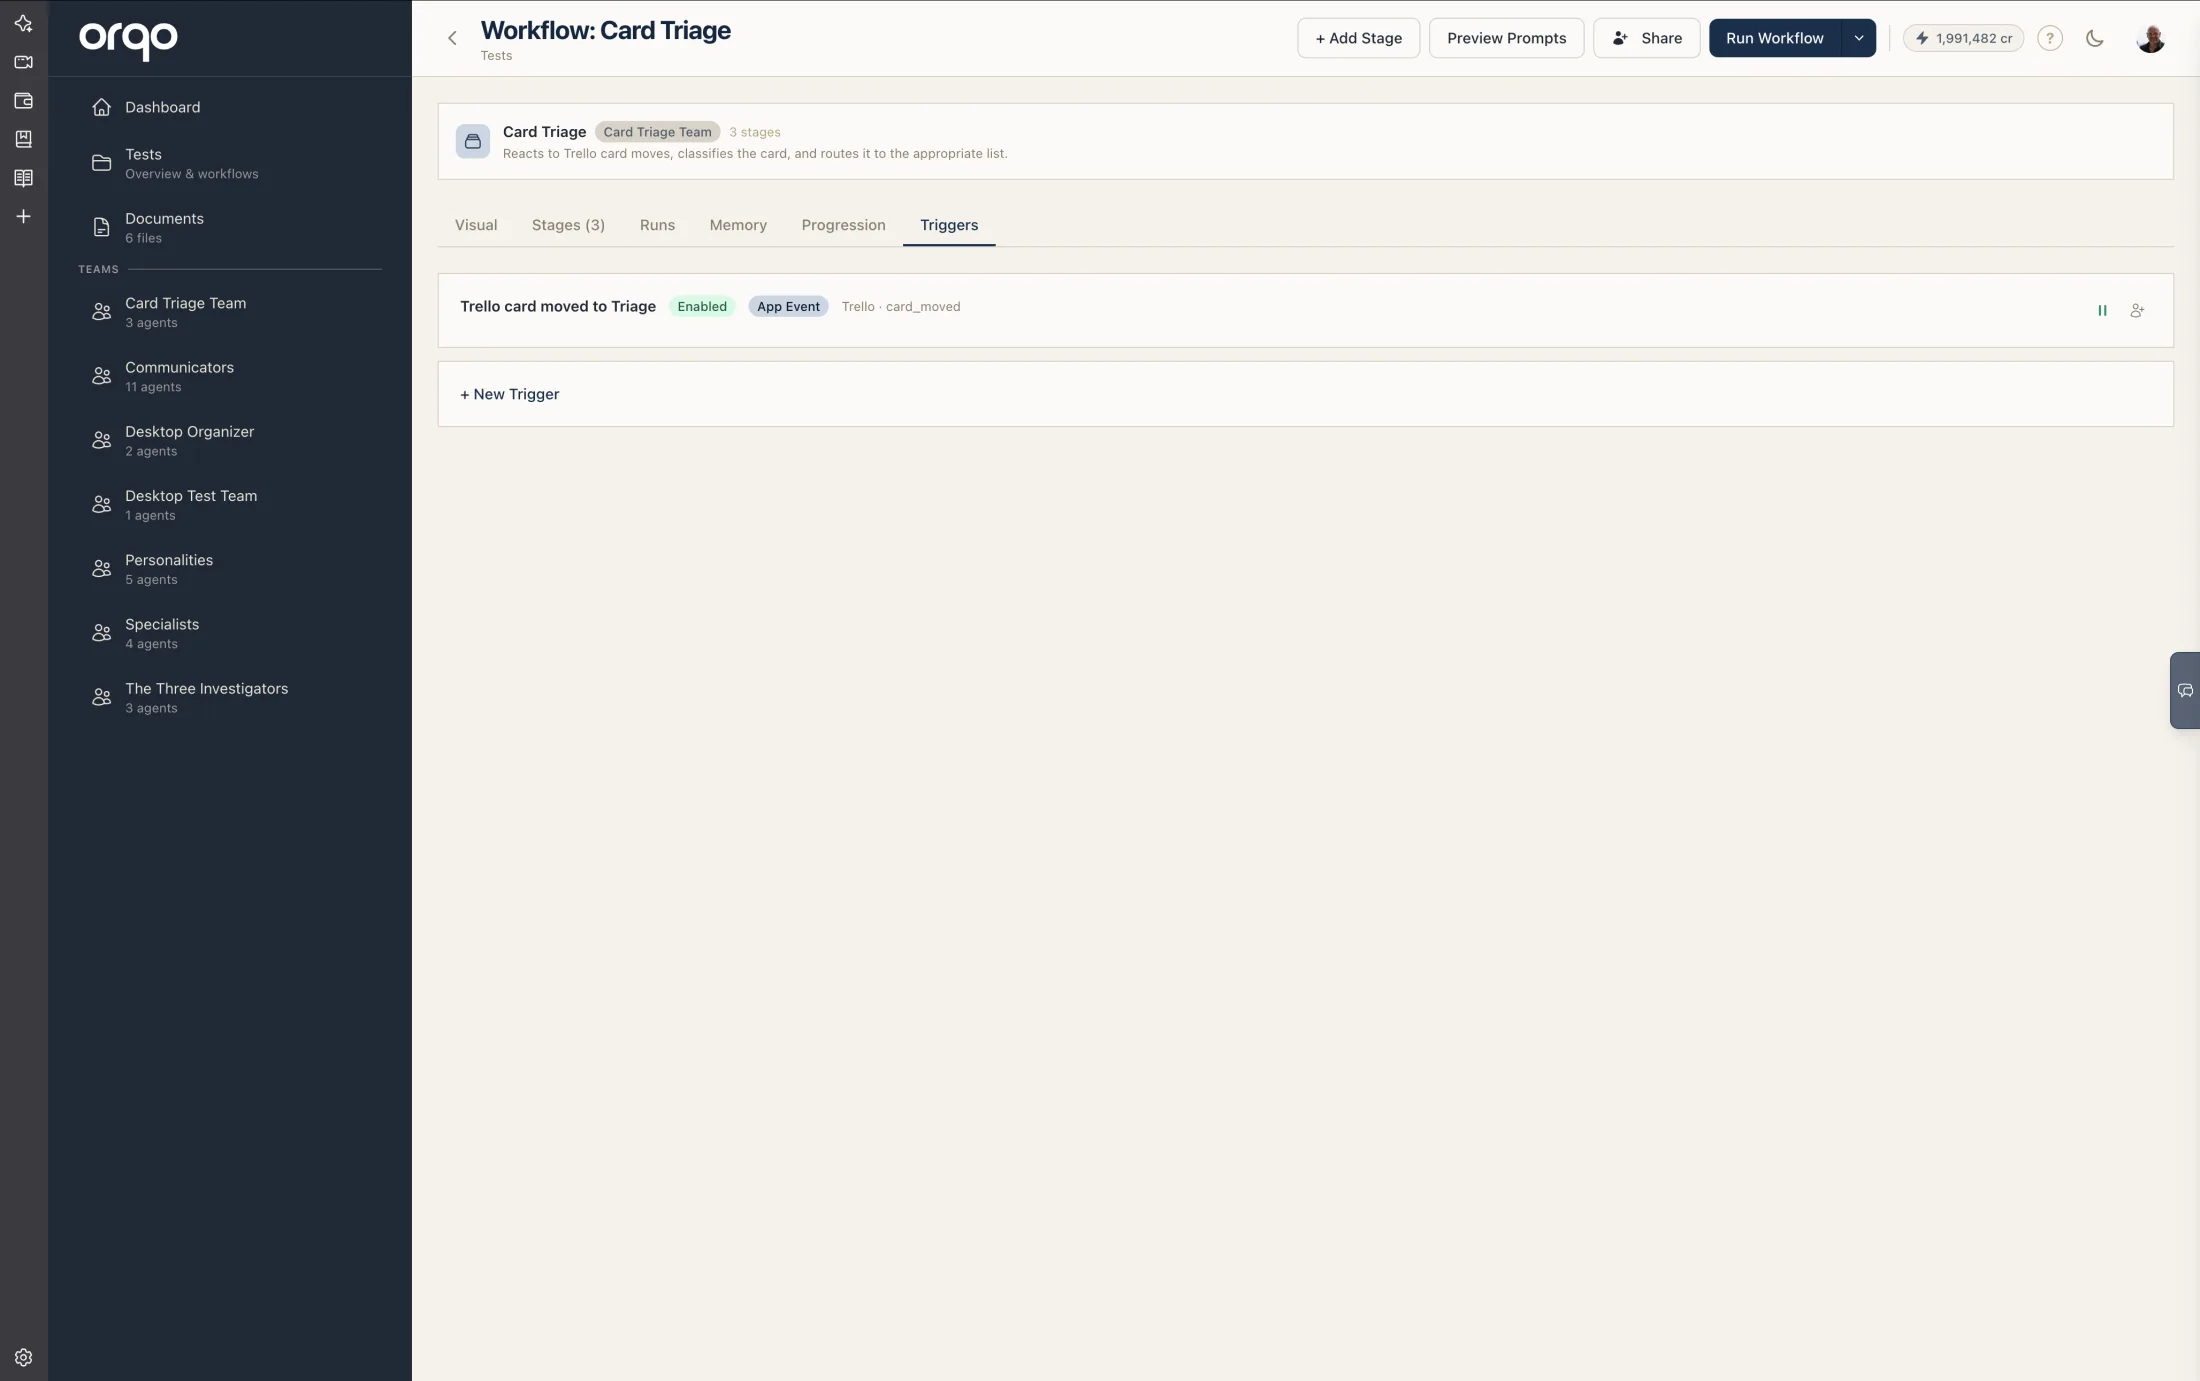
Create an App Event Trigger
App event triggers fire when an installed App delivers its own event -- for example, a Google Mail integration emitting email_received with the email as the payload. You don't register a URL: the App's adapter receives the event, and ORQO matches it against your triggers. The event data becomes the workflow's initial input, so agents in the target stage can act on it right away.
Prerequisites
- An installed App that receives events and declares one or more event types (e.g. a mail integration that emits
email_received). The App Event trigger option only appears when your organization has at least one such App. - That App must have Route to Chief of Staff turned off, so its inbound events are matched against workflow triggers instead of being handled conversationally. See Reference: Triggers for where the toggle lives.
1. Open the Runs & Triggers tab
Navigate to your workflow and click the Runs & Triggers tab.
2. Click "New Trigger" and select "App Event"
Click New Trigger and choose App Event as the trigger type. If you don't see this option, your organization has no App that receives events yet.
3. Name the trigger
Give it a descriptive name (e.g., "New Email", "Inbound Lead", "Card Moved").
4. Choose the Integration
Select the installed App that emits the events. If the chosen App still routes to Chief of Staff, a warning appears -- turn that routing off first (Settings → Apps), or the trigger will never fire.
5. Choose the Event
Pick the event type to listen for. The list is populated from the App's declared events -- for a mail integration this includes email_received.
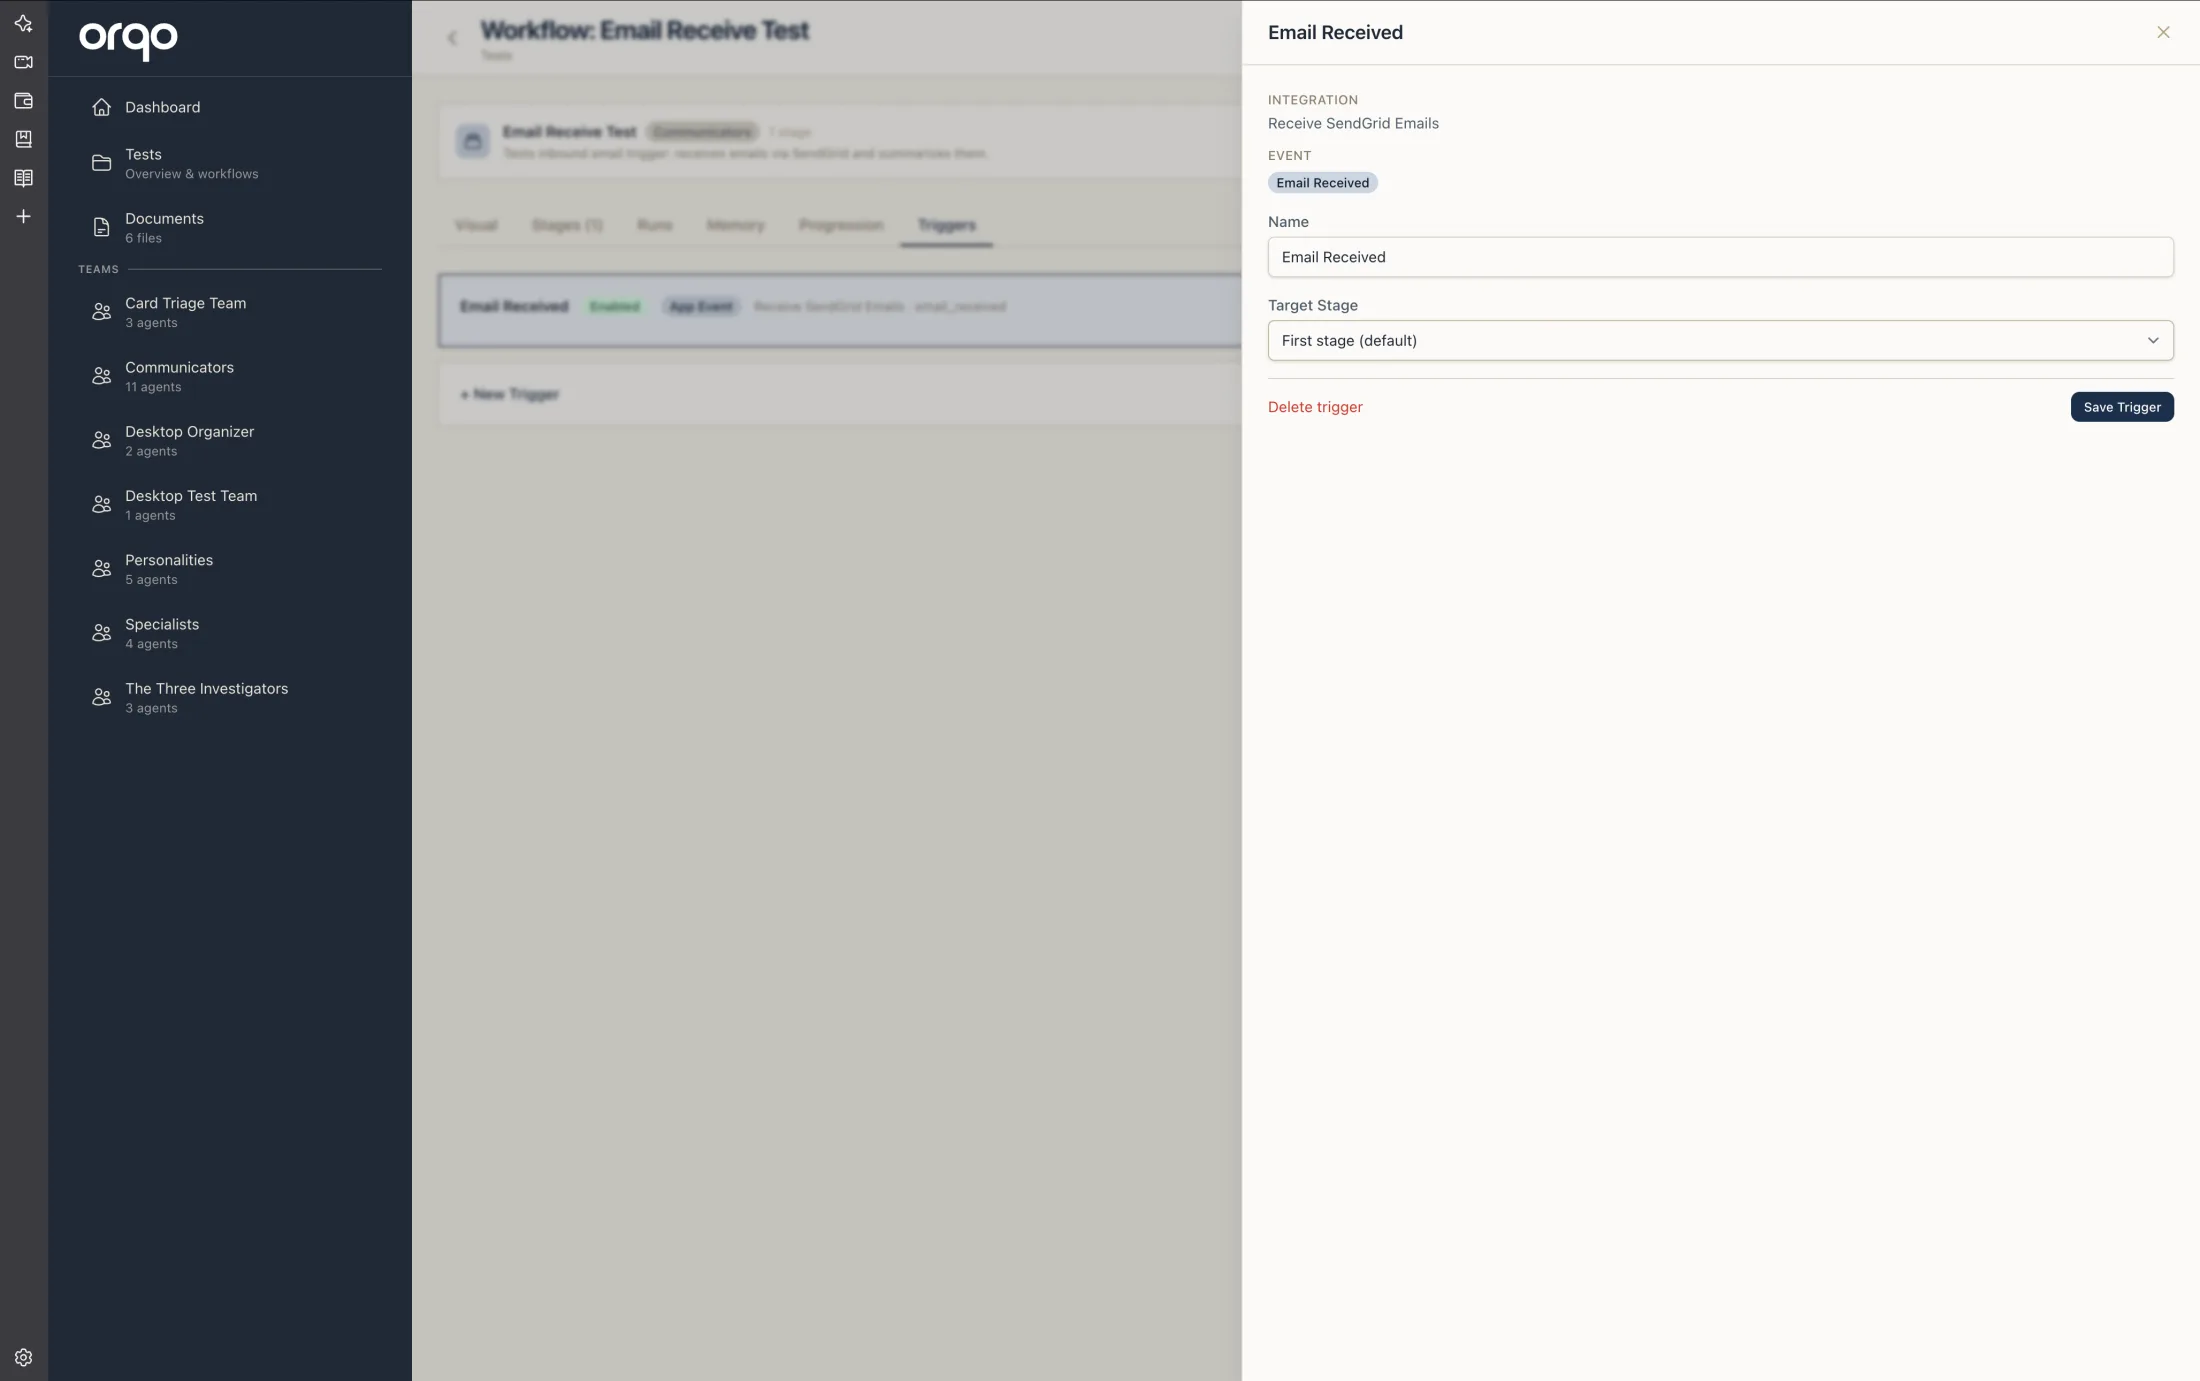
6. Choose the target stage (optional)
Select which stage should start when the event fires. Leave it as First stage unless you want to route this event into a specific entry point -- useful when one workflow handles several event types at different stages.
7. Create the trigger
Click Create Trigger. From now on, every matching event the App receives starts a run, with the event payload (e.g. the full email) handed to the first-stage agents as their initial input.
To fire on only a subset of events -- say, emails from a specific sender -- add an event filter. Filters are covered in Reference: Triggers.
Receiving an event and acting through the App are two separate steps. The trigger is inbound -- it starts the run and hands the agents the event data (the full email), which they can read and reason about with no setup. To have an agent act back through that App -- reply to the email, fetch the thread, send a message -- assign the App's skill to that agent so it gets the App's tools (e.g. gmail_send). Creating the trigger does not assign any tools; do that in Set Up Assignments. Many event workflows never need this -- they just read the payload and route, file, or summarize it.
Visual Builder: Drag-and-Drop
In the Visual Builder, you can also create triggers by dragging from the sidebar palette:
- Switch to the Visual tab.
- In the sidebar palette, find the Triggers section.
- Drag a Cron Schedule, Webhook, or app-event card onto the canvas. The palette lists one app-event card per event of each installed App that can receive events (e.g. Gmail · Email Received).
- The New Trigger drawer opens, prefilled to match the card you dragged -- for an app-event card, the App and event are already selected, so you just name it and save.
Trigger nodes appear at the top of the canvas connected to the first stage via dashed links.
What's next
- Run a Workflow to test the workflow manually before enabling the trigger
- Monitor Runs to review trigger-initiated runs
- Schedule Workflows for advanced scheduling patterns