Triggers
Triggers automate workflow execution by starting runs on a schedule or in response to external events. Instead of manually clicking "Run" every time, you define a trigger that fires automatically.
Trigger Types
| Type | Description |
|---|---|
| Schedule (Cron) | Fires on a recurring time-based schedule defined by a cron expression. |
| Webhook | Fires when an external system sends an HTTP POST to a unique URL. |
| App Event | Fires when an installed App receives an inbound event that matches the trigger's filter — and the App has Route to Chief of Staff turned off. |
Webhook Triggers
A webhook trigger gives your workflow a unique URL. Any system that can make an HTTP POST request can fire the workflow -- no API key required. The URL itself acts as the authentication token.
How It Works
- You create a webhook trigger on a workflow.
- ORQO generates a unique, unguessable URL containing a 43-character token.
- You give this URL to the external system (GitHub, Zapier, a CI/CD pipeline, a cron job, another service).
- When the external system POSTs to the URL, ORQO starts a new workflow run.
- The request body (JSON) is passed to the workflow as its initial input.
Webhook URL Format
POST https://orqo.ooopps.com/api/v1/hooks/<token>
The token is a cryptographically random, URL-safe string (43 characters). It is generated once when the trigger is created and does not change.
Request and Response
Request:
Send a POST with an optional JSON body. The body becomes the workflow's initial input message.
curl -X POST https://orqo.ooopps.com/api/v1/hooks/abc123...xyz \
  -H "Content-Type: application/json" \
  -d '{"event": "push", "branch": "main", "commit": "a1b2c3d"}'
Successful response (201 Created):
{
  "workflow_run_id": 42,
  "status": "started"
}
Error responses:
| Status | Meaning |
|---|---|
201 Created | Workflow run started successfully |
404 Not Found | Invalid or unknown webhook token |
409 Conflict | Trigger exists but is disabled |
422 Unprocessable Entity | Workflow failed to start (configuration error) |
Payload Handling
The request body is parsed as JSON and passed as the initial input to the workflow. If the body is not valid JSON, it is treated as a plain text message. If no body is sent, the workflow starts without initial input.
Security
The webhook endpoint is unauthenticated -- anyone with the URL can fire it. The 43-character token provides security through obscurity:
- Tokens are cryptographically random and URL-safe.
- There is no way to enumerate or guess valid tokens.
- If a token is compromised, delete the webhook trigger and create a new one to generate a fresh URL.
Treat webhook URLs like API keys. Do not commit them to public repositories or share them in insecure channels.
Webhook Trigger Fields
Webhook triggers have a minimal configuration -- only a name and the auto-generated URL. There is no schedule, timezone, or cron expression.
| Field | Required | Description |
|---|---|---|
| Name | Yes | Display label for the trigger |
| Webhook URL | Auto-generated | The URL external systems POST to. Read-only; generated on creation. |
| Enabled | No (default: on) | Whether the trigger accepts incoming requests |
Use Cases
| Source | How it works |
|---|---|
| GitHub | Add the webhook URL to a repository's webhook settings. Pushes, PRs, or releases fire the workflow with GitHub's event payload. |
| CI/CD | Add a curl step at the end of your pipeline to notify ORQO when a build completes. |
| Zapier / Make | Use an HTTP action to POST to the webhook URL when a Zap/Scenario triggers. |
| Email adapter | An email processing service receives mail and POSTs the parsed content to the webhook URL. |
| Monitoring | An alerting system (PagerDuty, Datadog) fires the webhook when a threshold is breached. |
| Another workflow | One workflow's completion callback POSTs to another workflow's webhook. |
App-Event Triggers
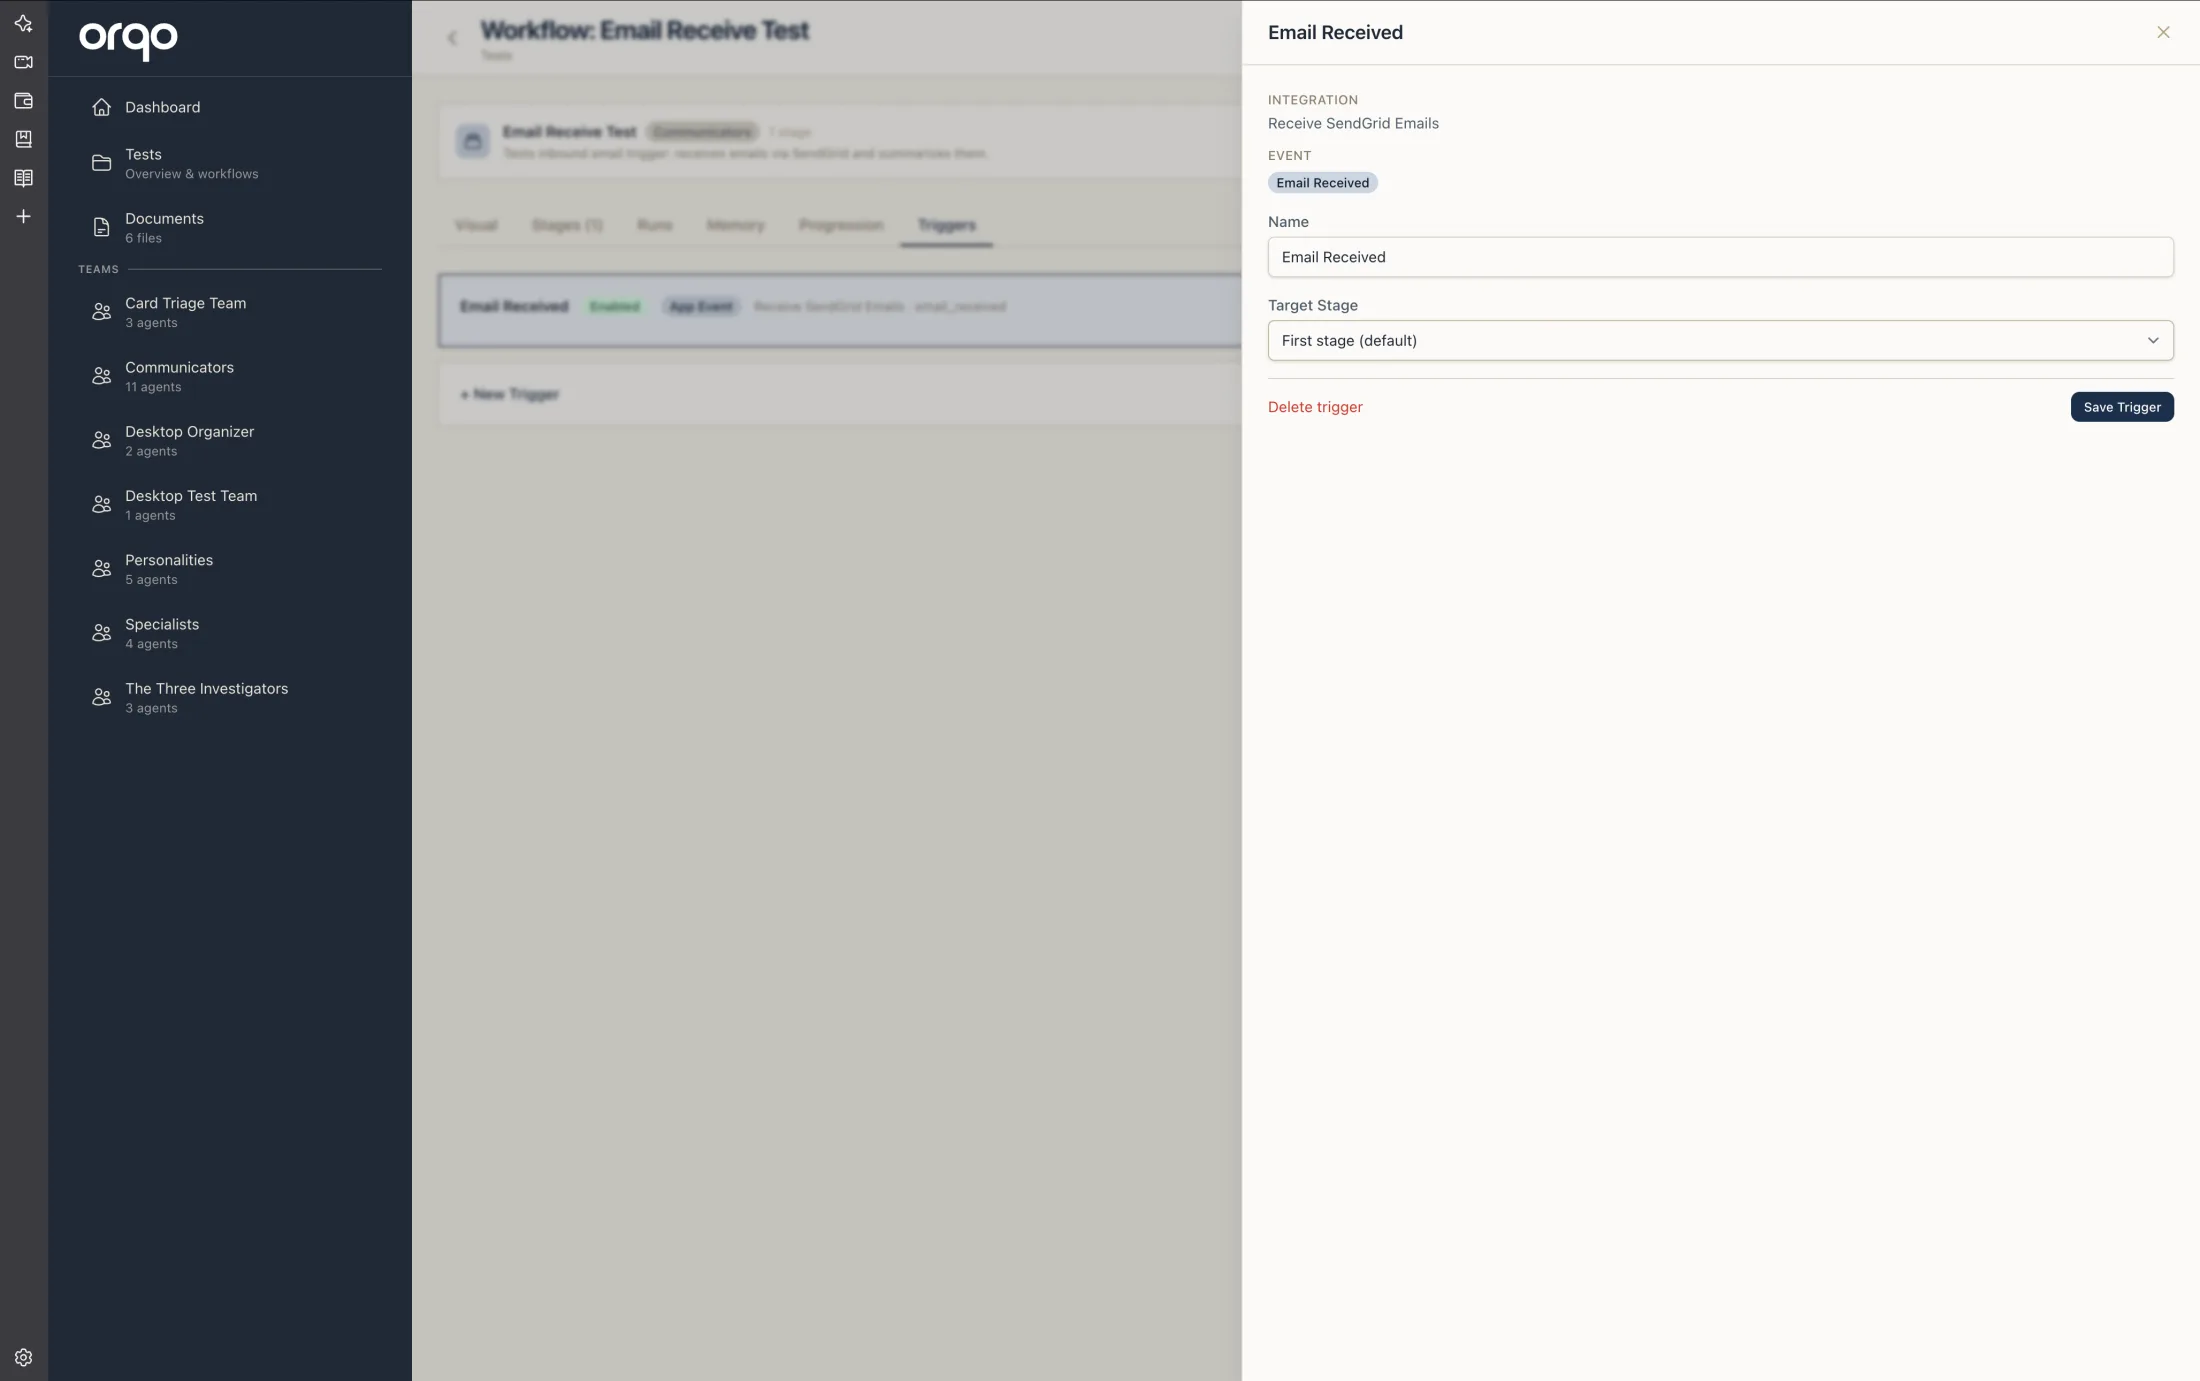
An app-event trigger fires when an installed App receives an inbound event of a specific type. This is the mechanism that handles machine-to-machine integrations — a GitHub App forwarding repository events, a monitoring service pushing alerts, a custom adapter relaying business events — without involving Chief of Staff.
When to Use
Choose an app-event trigger when:
- You have an App that receives events from an external platform.
- Those events should go straight to a workflow, not to a conversational front desk.
- Senders are services, not people — there is no Contact to attach the message to.
For user-facing conversational integrations (Slack DMs, email replies, Telegram chats), leave Route to Chief of Staff on and let Chief of Staff decide what to do. For event-driven automation, turn Chief of Staff routing off on that App and add app-event triggers instead.
Prerequisite: Turn Off Chief of Staff Routing
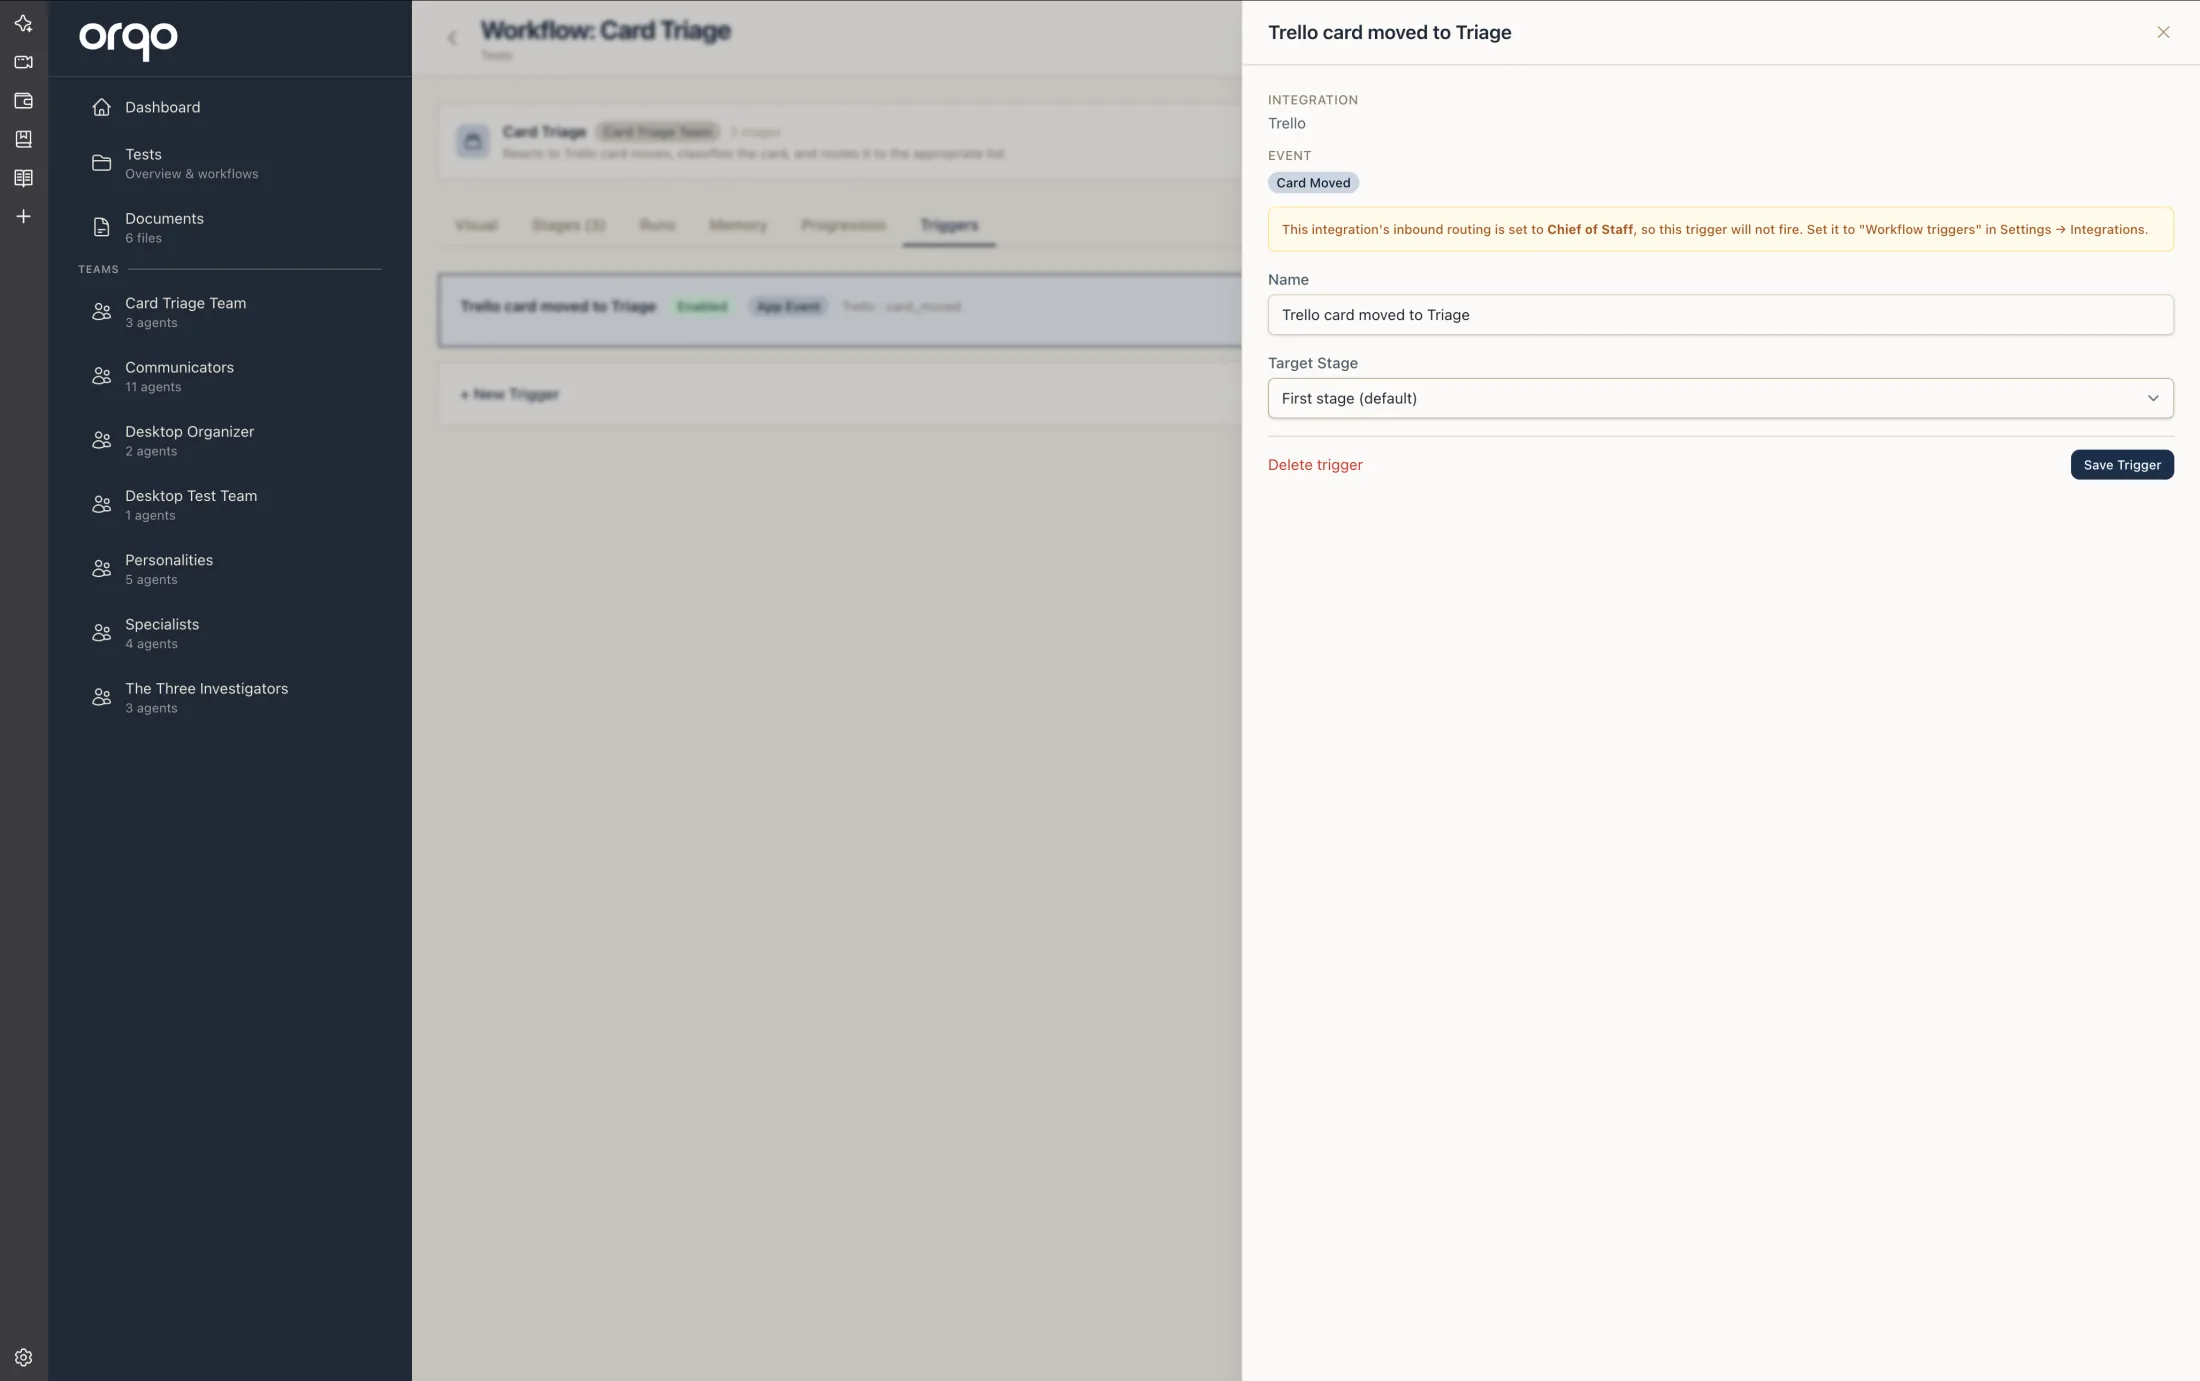
App-event triggers only fire when the App that received the event has Route to Chief of Staff turned off. The toggle lives on the App drawer:
Settings → Integrations → open the App → uncheck "Route to Chief of Staff"
When Chief of Staff routing is off, the App drawer shows a reminder: "Chief of Staff routing is off. Inbound events will be matched against workflow triggers. Add app-event triggers on your workflows to process incoming events."
See Inbound routing for the full picture.
How It Works
- You add an app-event trigger to a workflow, choosing the App and the event type to listen for.
- You pick a target stage — the stage the workflow should start at when the trigger fires.
- Optionally, you add an event filter to match only a subset of events.
- When a matching event arrives at that App, the workflow runs — targeting the stage you chose — with the event data as its initial input.
App-Event Trigger Fields
| Field | Required | Description |
|---|---|---|
| Name | Yes | Display label for the trigger |
| App | Yes | The installed App that emits the events this trigger listens to |
| Event type | Yes | The kind of event (e.g. message_received, or a platform-specific event name) |
| Target stage | Yes | The stage to run when the trigger fires. Lets you route different events into different stages of the same workflow. |
| Event filter | No | Optional constraints (such as matching on sender or payload fields) that narrow down which events match |
| Enabled | No (default: on) | Whether the trigger accepts incoming events |
Relationship to Other Trigger Types
| Trigger type | Source | Auth |
|---|---|---|
| App-event | Inbound event from an installed App (Chief of Staff routing off) | Contact not required; App's own webhook verification |
| Webhook | HTTP POST to a per-workflow token URL | 43-character token in URL |
| Schedule | Cron expression | None (internal) |
If you want any HTTP POST from any source to fire a workflow, use a Webhook trigger. If you want events from a specific installed App (Slack, GitHub, a custom adapter) to fire workflows based on event type, use an App-event trigger.
Schedule Triggers (Cron)
A schedule trigger fires at recurring intervals defined by a cron expression. The platform accepts both raw cron syntax and natural language descriptions.
Natural Language Schedules
You can define schedules in plain English. The platform parses them into standard cron expressions:
| Input | Cron Expression |
|---|---|
every day at 9am | 0 9 * * * |
every weekday at 9am | 0 9 * * 1-5 |
every monday at 8:30am | 30 8 * * 1 |
every hour | 0 * * * * |
every 15 minutes | */15 * * * * |
first day of every month at noon | 0 12 1 * * |
When you provide natural language, the platform stores both the original description (for display) and the canonical cron expression (for scheduling).
Raw Cron Expressions
You can also provide standard 5-field cron expressions directly:
┌───────────── minute (0-59)
│ ┌───────────── hour (0-23)
│ │ ┌───────────── day of month (1-31)
│ │ │ ┌───────────── month (1-12)
│ │ │ │ ┌───────────── day of week (0-7, 0 and 7 = Sunday)
│ │ │ │ │
* * * * *
| Expression | Meaning |
|---|---|
0 9 * * * | Every day at 9:00 AM |
0 9 * * 1-5 | Weekdays at 9:00 AM |
*/30 * * * * | Every 30 minutes |
0 0 1 * * | First day of every month at midnight |
0 8,17 * * * | At 8:00 AM and 5:00 PM daily |
If the input matches a valid cron expression exactly, it is stored without a natural language description.
Timezone Support
Every schedule trigger has a timezone setting that determines when the cron expression fires relative to local time. The default is UTC.
Set the timezone to match the intended audience or business hours. A trigger set to "every weekday at 9am" in America/New_York fires at 9:00 AM Eastern, regardless of UTC offset or daylight saving time changes.
The timezone is validated against the standard IANA timezone database. Invalid timezone values are rejected.
The trigger's display format always shows the timezone alongside the schedule description: "Every weekday at 9am (America/New_York)".
Schedule Trigger Fields
| Field | Required | Default | Description |
|---|---|---|---|
| Name | Yes | -- | Display label for the trigger |
| Schedule | Yes | -- | Cron expression or natural language schedule |
| Timezone | Yes | UTC | When the schedule fires relative to local time |
| Enabled | No | On | Whether the trigger actively fires |
| Start Date | No | -- | Earliest date the trigger can fire |
| End Date | No | -- | Latest date the trigger can fire |
| Input Payload | No | -- | Static data passed to the workflow run when triggered |
Common Behavior
The following applies to both schedule and webhook triggers.
Enabled / Disabled Toggle
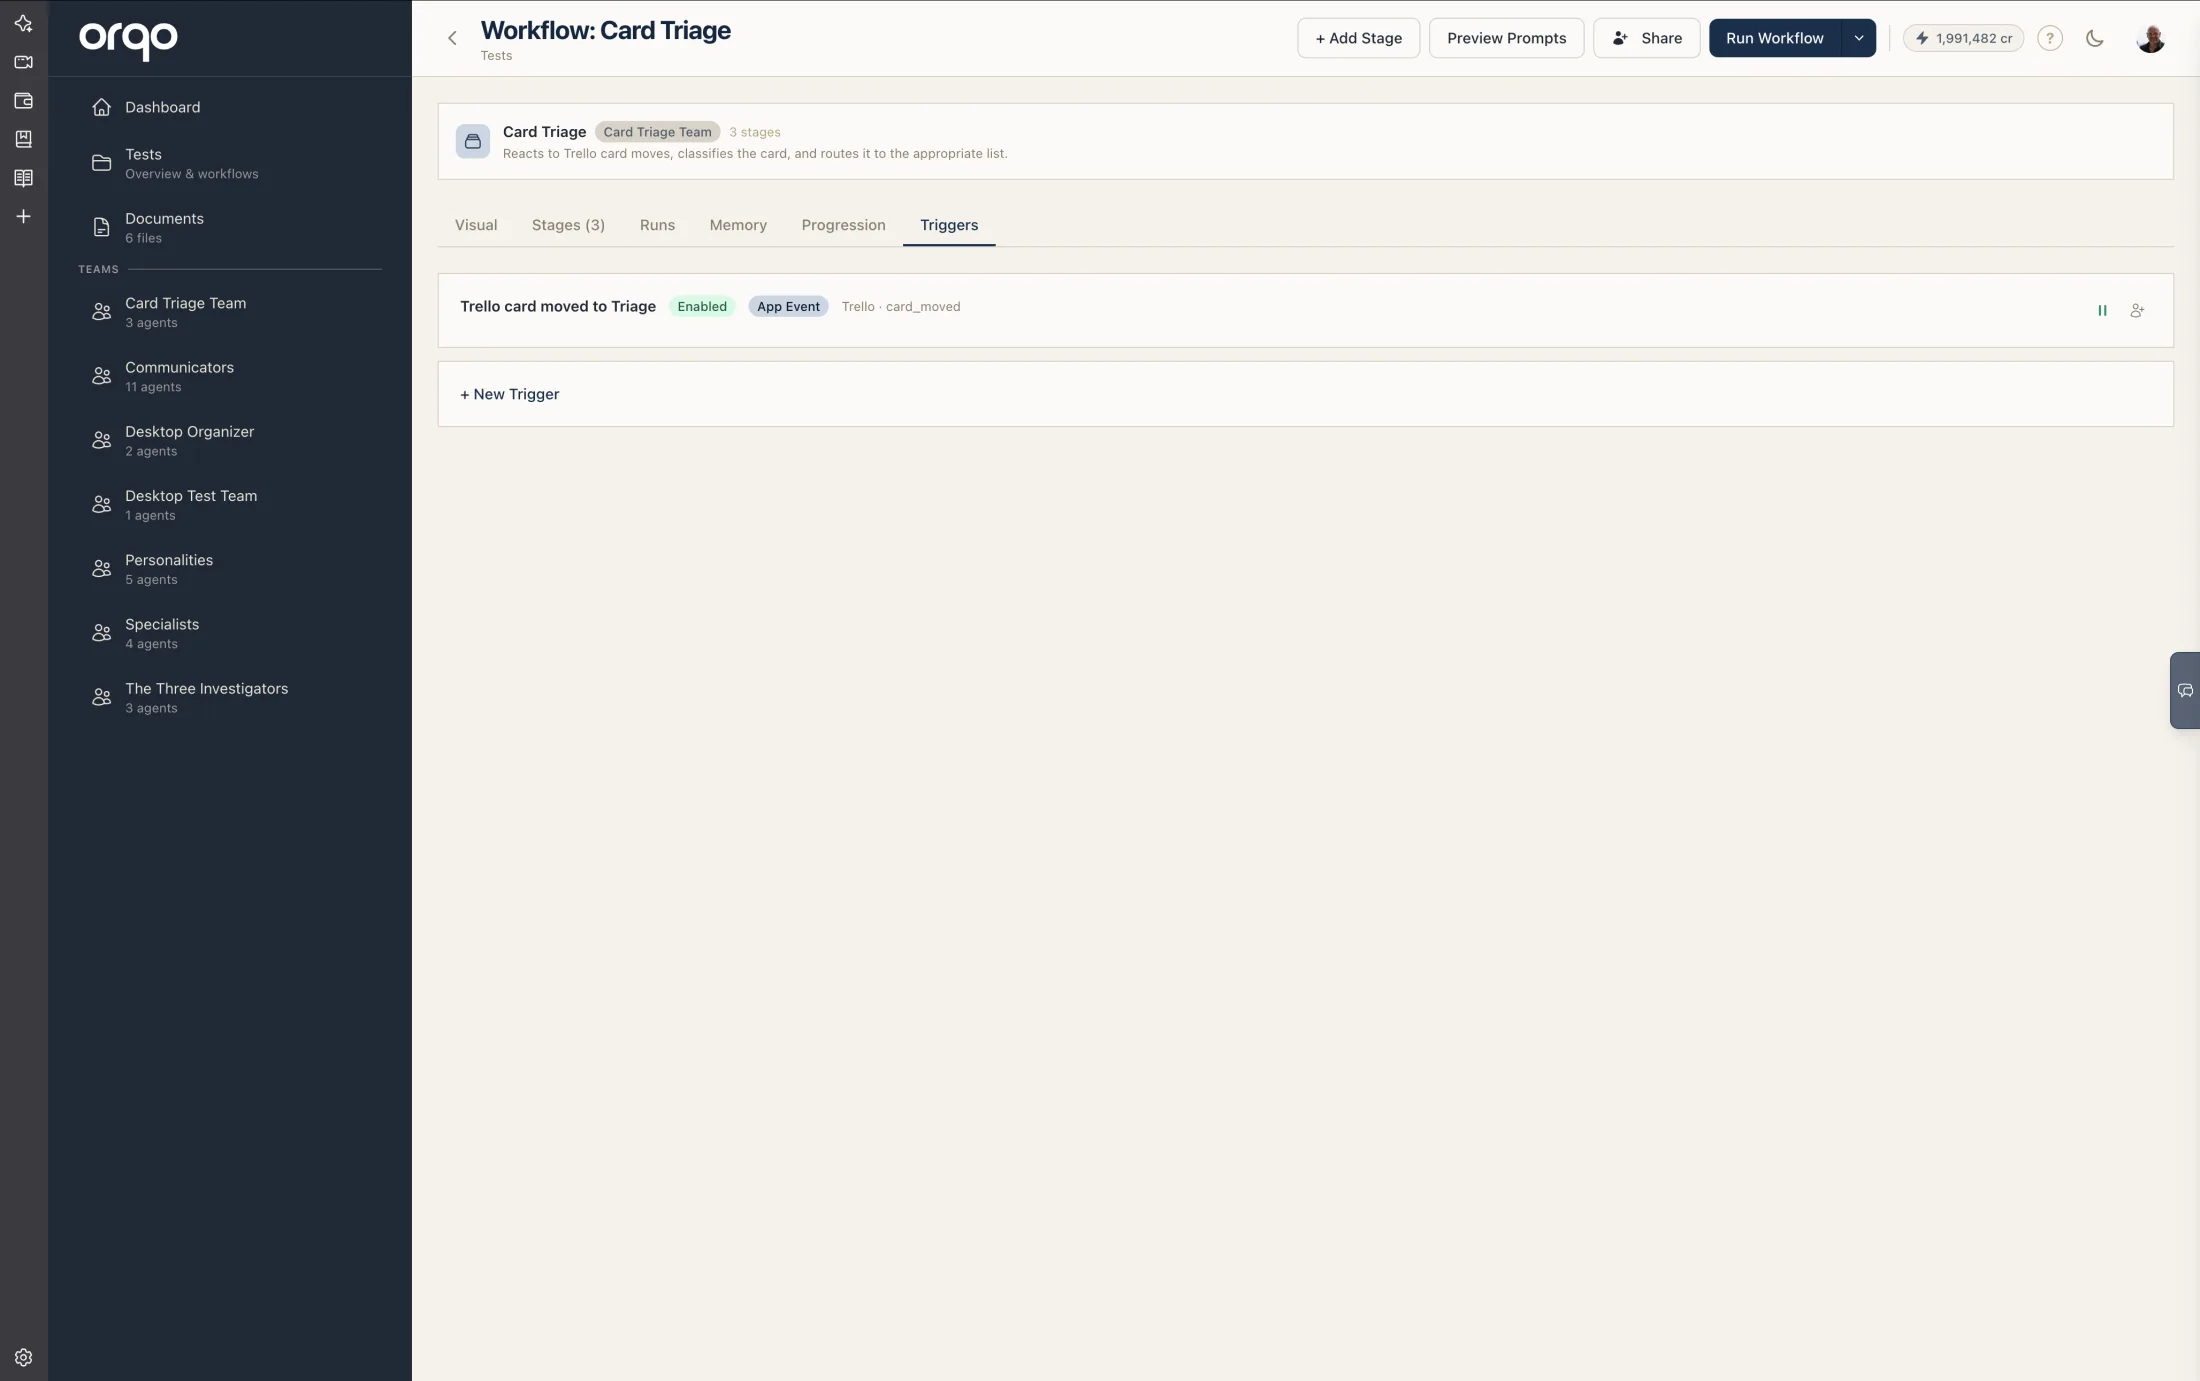
Each trigger has an enabled flag that controls whether it actively fires:
- Enabled -- The trigger will fire when its condition is met (schedule time or incoming webhook).
- Disabled -- The trigger exists but will not fire. Useful for temporarily pausing without deleting the configuration.
For schedule triggers, disabling clears the next scheduled fire time. Re-enabling recalculates it from the current moment. For webhook triggers, disabled triggers reject incoming requests with 409 Conflict.
Start and End Dates
Schedule triggers support optional start date and end date boundaries:
| Field | Effect |
|---|---|
| Start Date | The trigger will not fire before this date, even if enabled and the cron schedule matches. |
| End Date | The trigger will not fire after this date. The trigger remains enabled but becomes effectively dormant. |
Both fields are optional. If neither is set, the trigger fires indefinitely as long as it is enabled.
Start and end dates apply to schedule triggers only. Webhook triggers fire on every valid request while enabled.
User Input Conflict
Workflows can be configured to prompt for a task description before starting ("Prompt for task description" toggle). This creates a conflict with triggers, which fire automatically without user interaction.
If a workflow has this toggle enabled, triggers on that workflow cannot be enabled. The platform shows an error: "Cannot enable trigger: workflow requires user input before starting. Disable 'Prompt for task description' first."
In the Workflow Builder, trigger nodes for workflows with this setting display a warning label indicating the conflict.
Disable "Prompt for task description" on the workflow before enabling any triggers. Automated runs cannot wait for user input.
Fire Now
The Fire Now action manually triggers an immediate workflow run, bypassing the schedule. This is useful for testing a trigger's configuration or forcing an off-schedule execution.
Fire Now is available on schedule triggers. For webhook triggers, you can test by sending a POST request directly (e.g., with curl).
Tracking and History
Each trigger tracks its firing history:
The trigger card displays:
- Fire count -- Total number of times this trigger has fired.
- Last fired -- When it most recently fired.
- Next fire -- (Schedule triggers only) When it will fire next. Updated after each firing and when the configuration changes.
Individual firings are recorded as trigger runs, each linked to the workflow run it created. Each run shows when it fired, whether it succeeded or failed, and a link to the resulting workflow run.
Triggers in the Workflow Builder
Trigger nodes appear at the top of the workflow graph, connected to the first stage via dashed links. Each node displays:
- A clock or webhook icon
- The trigger name
- The schedule or "Webhook" as a subtitle
- A status dot: green for enabled, gray for disabled
Dragging a trigger card from the sidebar palette onto the canvas creates a new trigger and opens the trigger drawer for configuration. The palette offers both "Cron Schedule" and "Webhook" trigger types.
Clicking a trigger node opens its edit drawer. For schedule triggers, this shows fields for name, schedule input, timezone, enabled toggle, and start/end dates. For webhook triggers, it shows the name field and the generated webhook URL with a copy button.