Schedule Workflows
Automate workflow execution with cron schedule triggers. This guide covers creating triggers, managing multiple schedules, and understanding how scheduled runs work.
Prerequisites
- A fully configured workflow (stages, assignments, LLM) ready to run
- The workflow must not have "Awaits User Input" enabled
Steps
1. Understand trigger types
ORQO supports three trigger types:
- Schedule (Cron) -- Fires on a recurring time-based schedule. This is the focus of this guide.
- Webhook -- Fires when an external system sends an HTTP POST to a unique URL. See Create a Trigger for webhook setup.
- App Event -- Fires when an installed App delivers one of its own events (e.g. a Google Mail integration emitting
email_received), with the event payload as the run's initial input. See Create a Trigger.
Each schedule trigger has:
- A cron expression defining when it fires
- A timezone for interpreting the schedule
- Optional start/end dates to bound the active period
- An enabled/disabled toggle
A single workflow can have multiple triggers of either type.
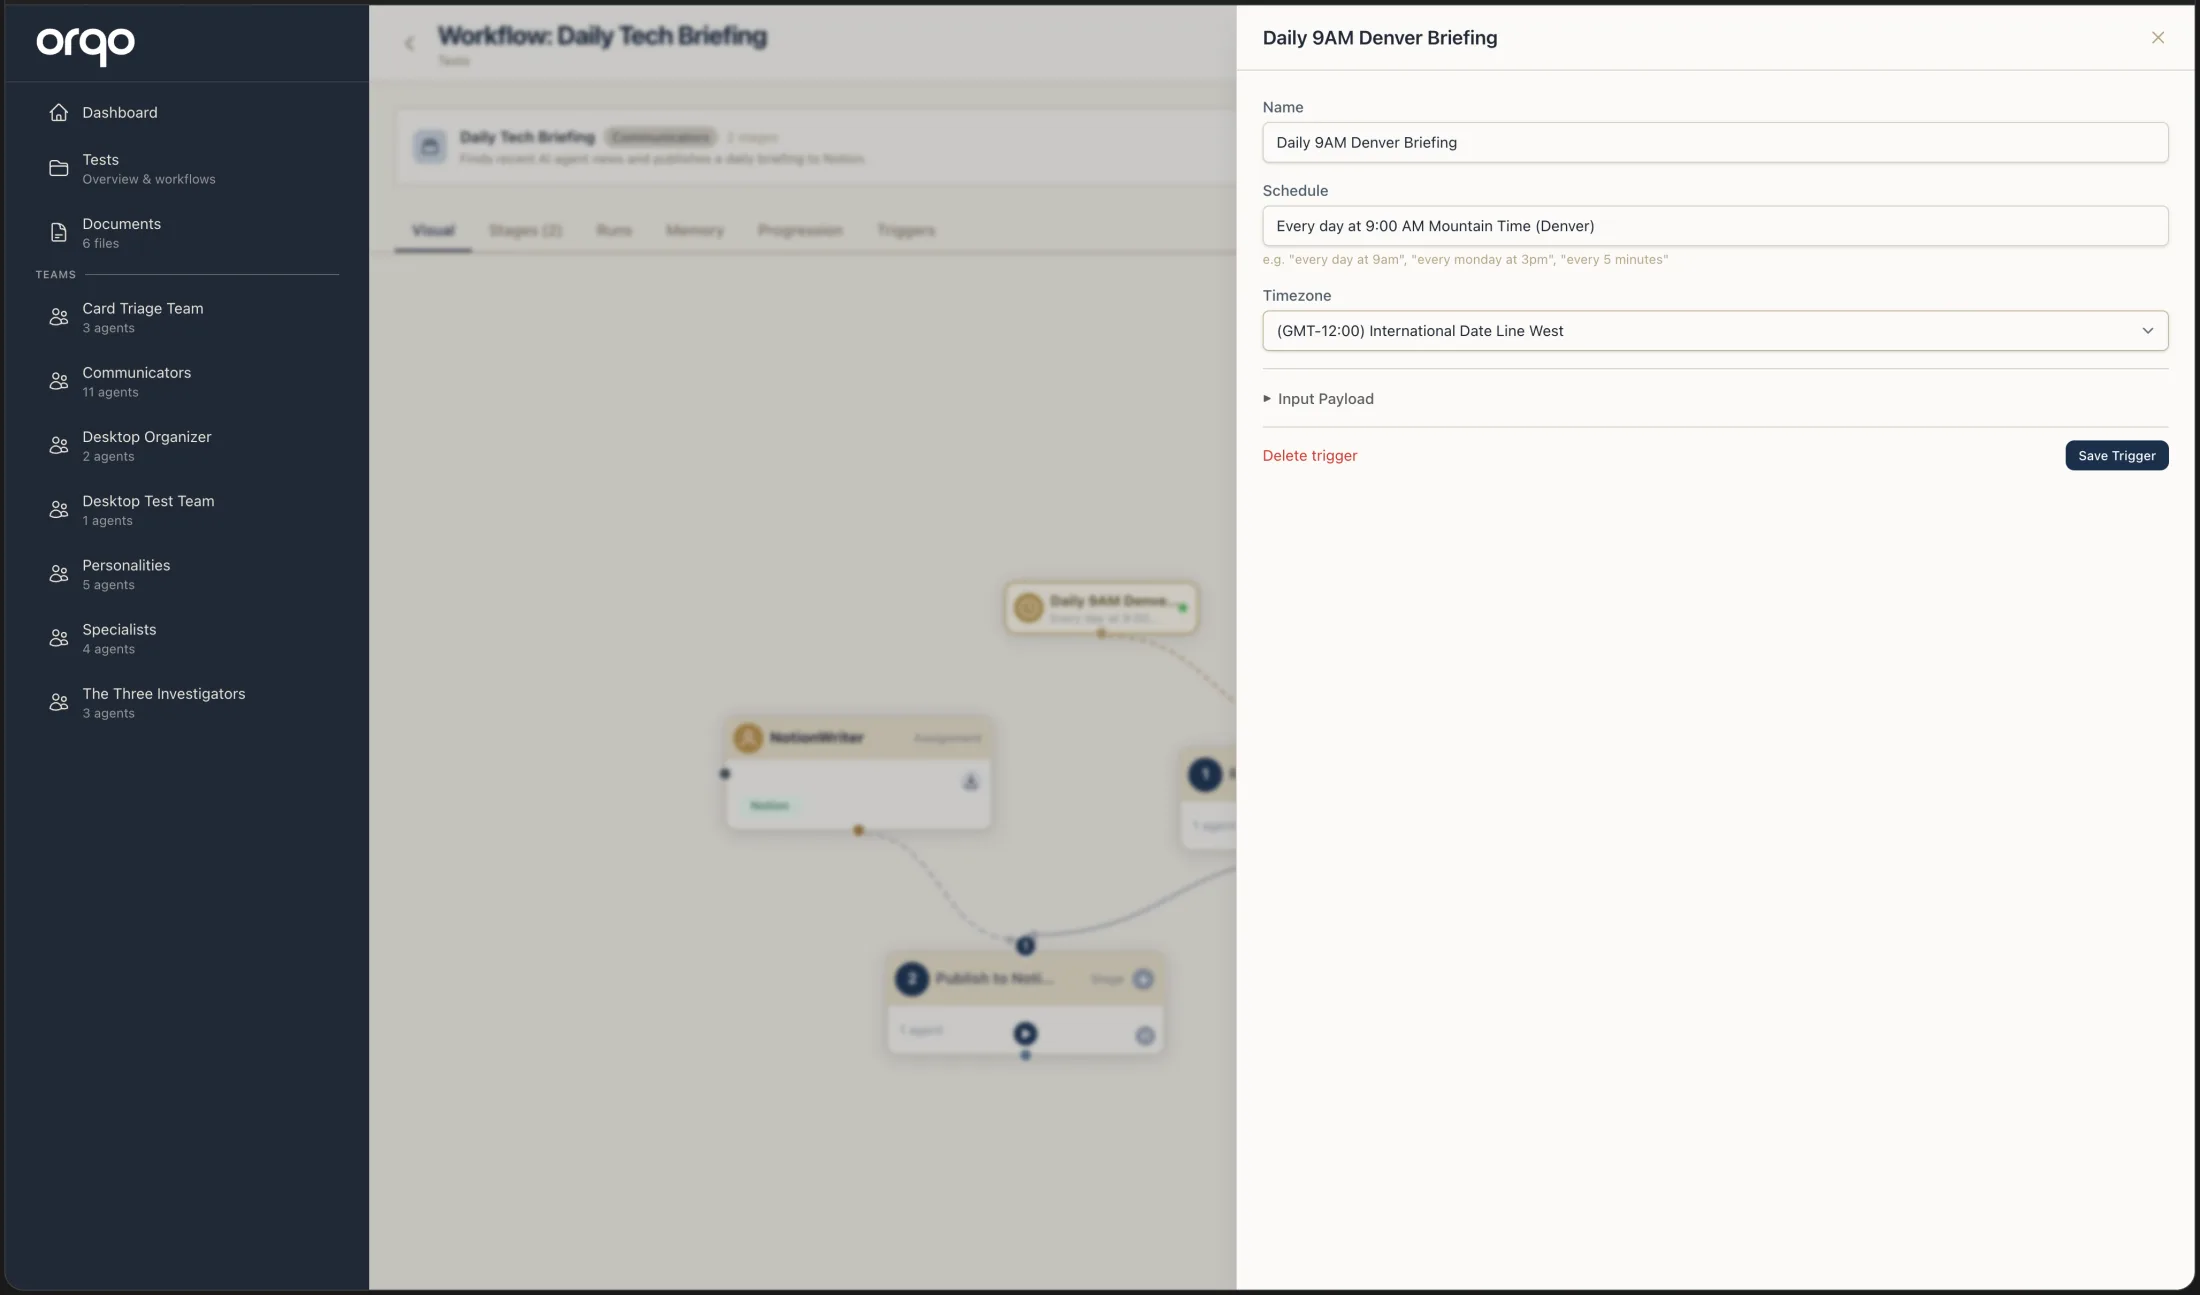
2. Create a schedule trigger
Navigate to your workflow's Runs & Triggers tab and click New Trigger. Enter a name and schedule (see Create a Trigger for detailed steps).
3. Use natural language schedules
Instead of writing cron expressions, type plain English:
| Natural language | Resulting cron |
|---|---|
every day at 9am | 0 9 * * * |
every Monday at 2:30pm | 30 14 * * 1 |
every 6 hours | 0 */6 * * * |
twice a day at 8am and 8pm | Two triggers needed |
every weekday at noon | 0 12 * * 1-5 |
first of the month at midnight | 0 0 1 * * |
ORQO parses the description using Fugit and stores the canonical cron expression. The original natural language is preserved and displayed alongside it.
If ORQO cannot parse your natural language input, it shows a validation error. Rephrase or fall back to a standard cron expression.
4. Set timezone-aware schedules
Select a timezone from the dropdown when creating or editing a trigger. All fire times are calculated in the selected timezone and then converted to UTC for execution.
This matters for schedules like "every day at 9am" -- without a timezone, 9am means 9:00 UTC. With "America/New_York" selected, it means 9:00 Eastern time, adjusting automatically for daylight saving time.
5. Add date bounds
Use Starts at and Ends at to limit when a trigger is active:
- A campaign workflow that should only run during March: set starts_at to March 1 and ends_at to March 31
- A trigger that should begin next Monday: set starts_at to next Monday's date
Triggers outside their date bounds are skipped even if enabled.
6. Manage multiple triggers
Add multiple triggers to the same workflow for complex scheduling needs:
| Trigger | Schedule | Purpose |
|---|---|---|
| "Weekday Morning" | 0 9 * * 1-5 | Mon-Fri at 9am |
| "Weekend Afternoon" | 0 14 * * 0,6 | Sat-Sun at 2pm |
| "Monthly Summary" | 0 0 1 * * | First of month |
Each trigger operates independently. If two triggers fire at the same time, two separate runs start.
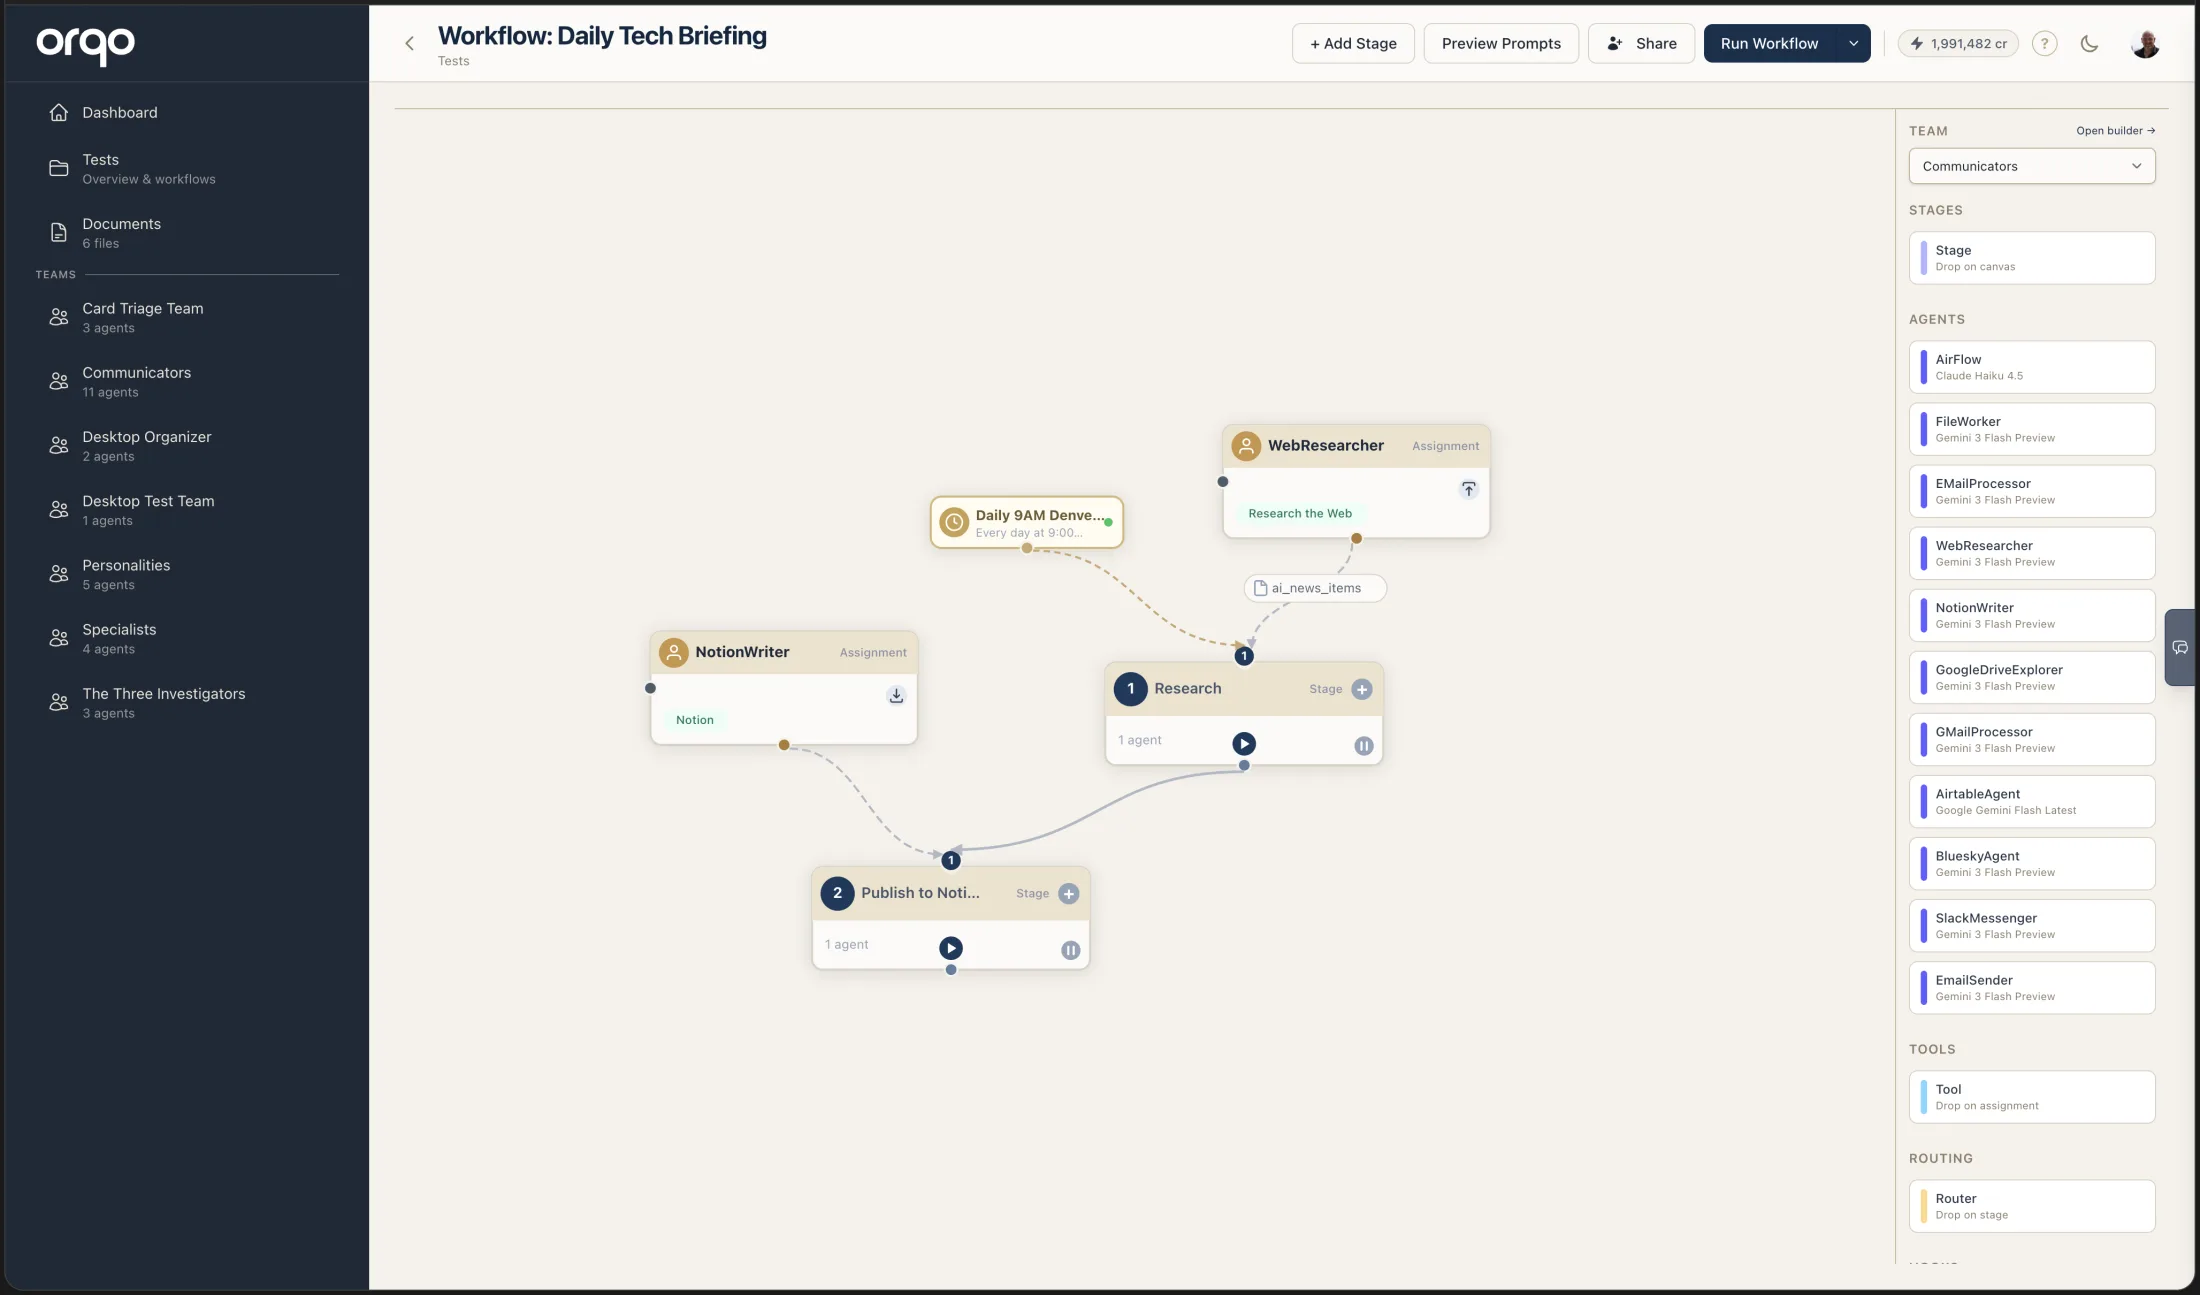
7. Monitor the next fire time
Each trigger card displays the next fire time -- when the trigger will next execute. This updates automatically after each firing.
The next fire time is calculated when the trigger is saved or after each execution. It accounts for the timezone and any date bounds you have configured.
8. Enable and disable triggers
Toggle a trigger's Enabled switch to start or stop it from firing. Disabled triggers retain their configuration and schedule -- they simply do not execute.
This is useful for:
- Pausing a schedule during maintenance
- Testing a workflow manually before enabling automated runs
- Temporarily stopping a trigger without deleting its configuration
9. View trigger-initiated runs
Runs started by triggers appear in the run history alongside manual runs. The "Triggered by" column indicates which trigger initiated the run.
10. Delete a trigger
Click a trigger card and click Delete to remove it permanently. This does not affect any runs that were already started by the trigger.
Reference previous runs in your directives
Every run automatically receives a Recent Run History -- a list of the workflow's recent runs (run number, completion time, and status), most recent first. Agents in the first stage see it before they begin work, with no configuration required.
This lets you write task directives that build on prior runs instead of redoing the same work each time. For example:
- "Check for new emails received since the last run and summarize them."
- "Compare today's metrics against the previous run and report what changed."
The agent reads the history, picks the most recent completed run, and uses its timestamp as the cutoff. On the first run there is no history yet, so write directives that still behave sensibly with no prior run (for example, fall back to a default time window).
The timestamp is each run's completion time, so "since the last run" gives a clean, non-overlapping boundary -- work already done in the previous run is not repeated.
What's next
- Monitor Runs to review scheduled run results
- Create a Trigger for step-by-step trigger creation
- Configure Webhooks for event-driven execution