Manage Documents
Upload files to your project, organize them in folders, and let the Knowledge Curator automatically classify content into the knowledge graph.
Prerequisites
- An existing project (see Create a Project)
- For auto-classification: the project's Knowledge Graph must be enabled
Steps
1. Open the Documents page
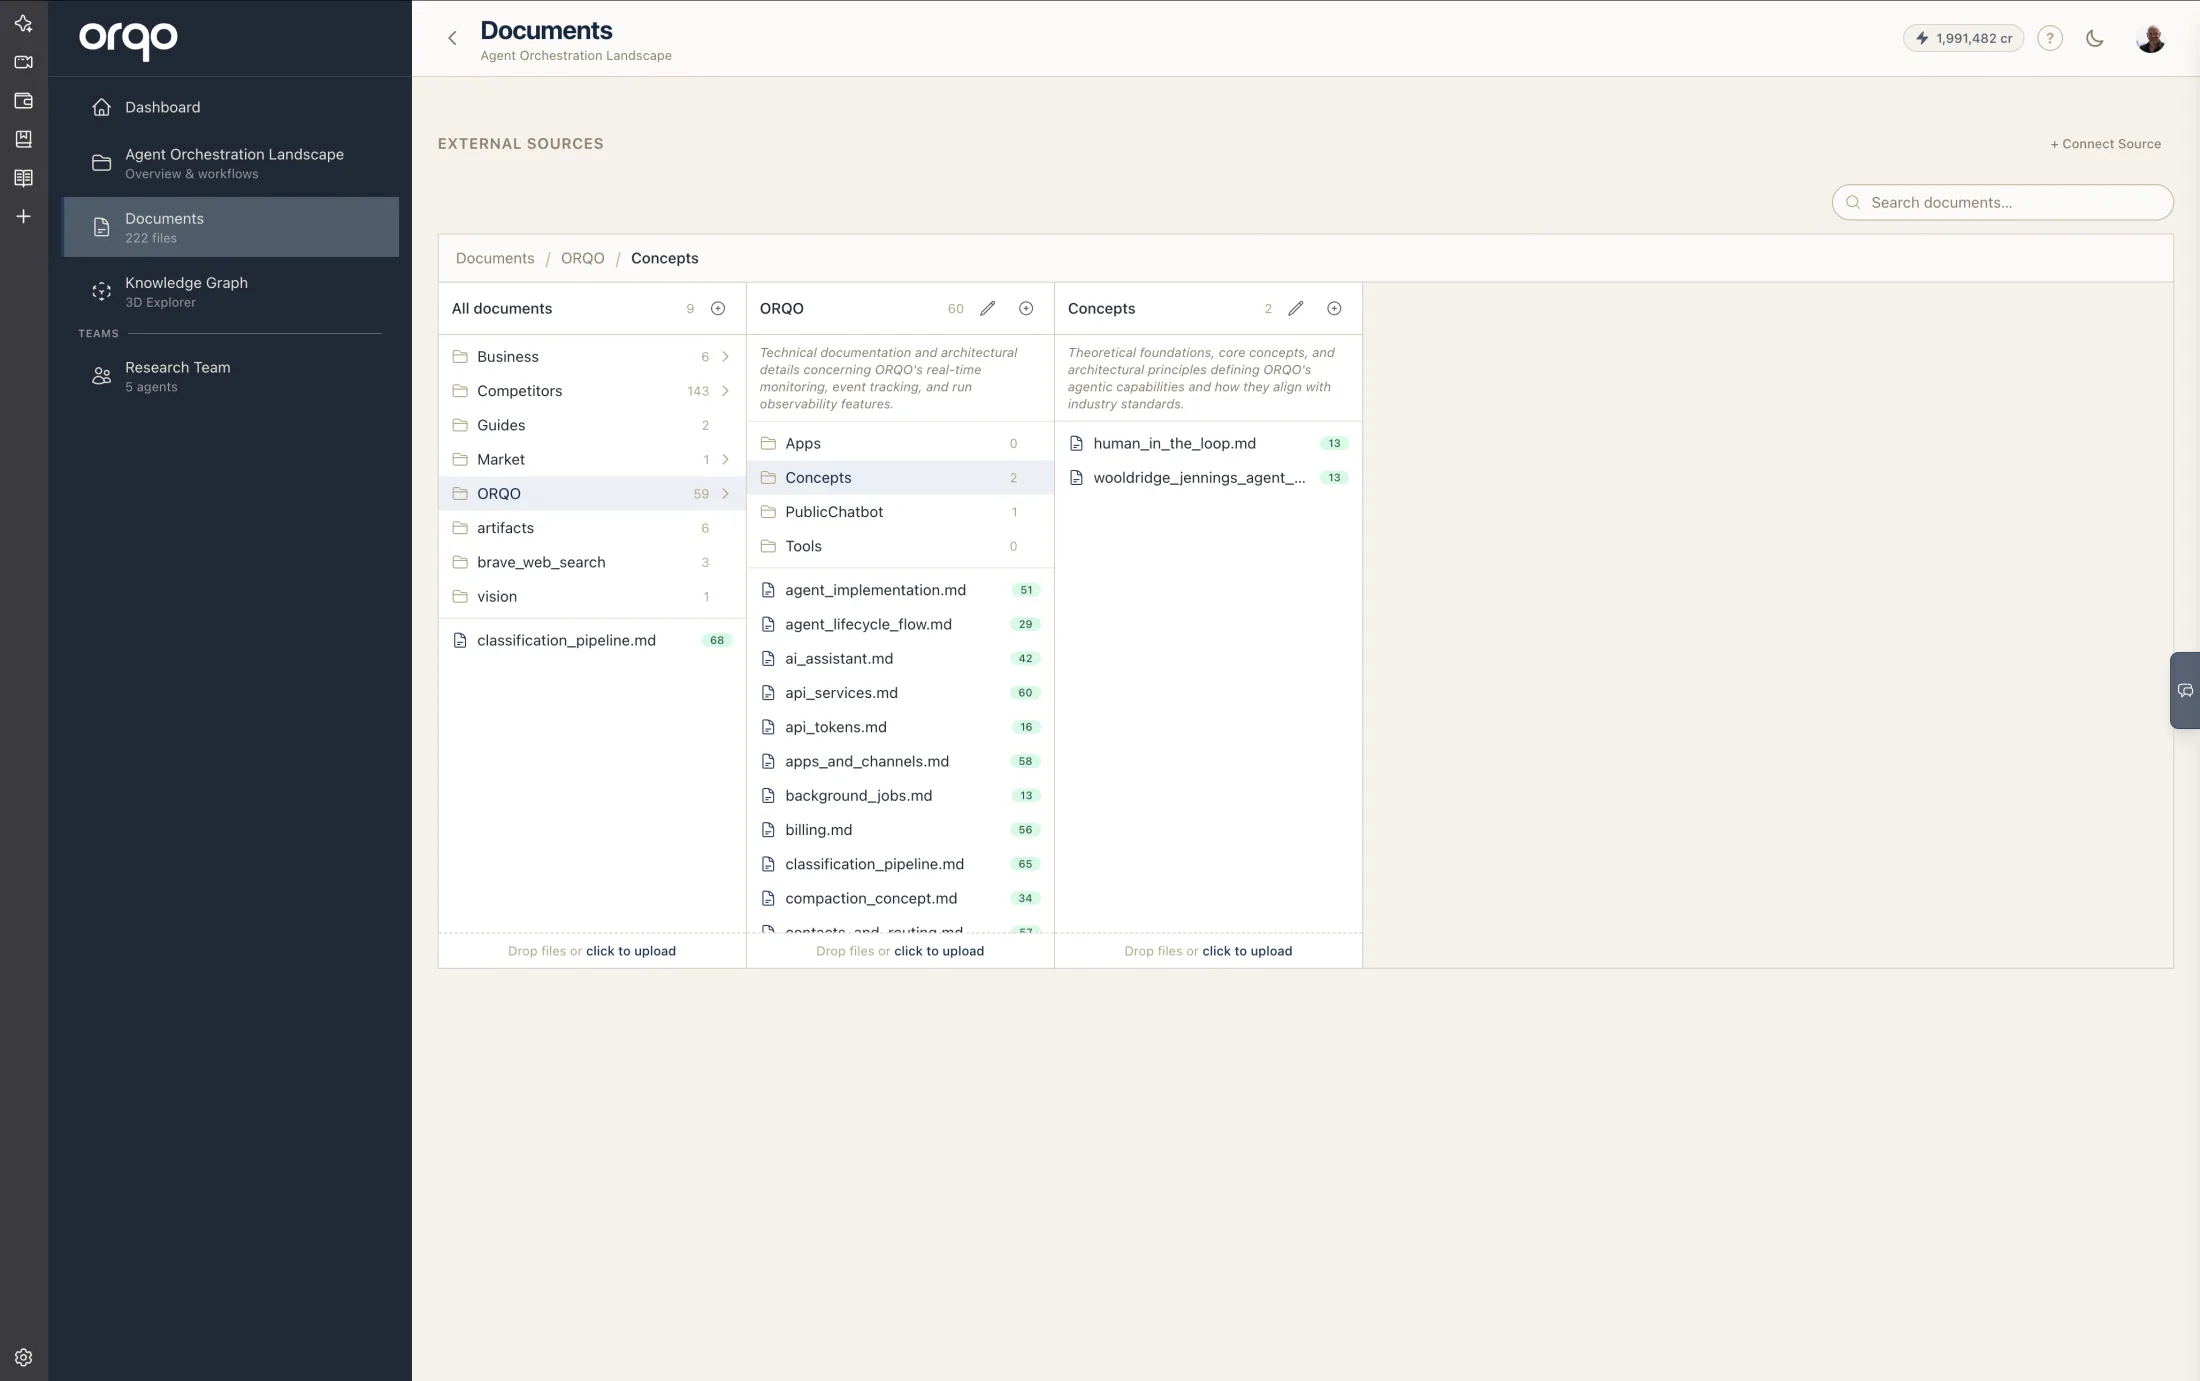
Navigate to your project in the sidebar, then click Documents. The library opens as a Finder-style column browser: click a folder to open its contents in a new column to the right, and keep drilling as deep as your folder nesting goes. A search box sits above the browser. Once a document is classified, it carries a green badge showing how many knowledge units it contributed to the knowledge graph.
2. Upload a file
Every folder column has a Drop files or click to upload zone at its foot. Drop files there (or click it to browse) and they upload directly into that folder — whichever column you drop into is the destination. You can also drag files straight from your desktop onto a folder.
Files are saved immediately. When the Knowledge Graph is enabled, each new document is then queued for automatic classification into the graph (see Monitor classification status below); when it's disabled, the file is simply stored.
Choose where a document lands by uploading it into that folder's column. Folder descriptions matter here too — a described folder becomes its own knowledge-graph domain (see Create folders).
3. Create folders
Use the New Folder action in the column browser to add a folder inside the column you're in. Give it a name and an optional description.
Folders can be nested (e.g., research/papers). Empty folders are tracked via the project's folder descriptions, so they appear in the browser even without files.
Folder descriptions shape the knowledge graph
A folder's description is more than a label — it decides how the documents inside it land in the knowledge graph, and it has a double function:
- It declares the folder as a domain. When a description is present, ORQO treats the folder as a purposefully created collection. The folder name becomes a knowledge-graph domain, and every document inside it — and every knowledge unit extracted from those documents — is associated with that domain.
- It guides future matching. The description is also used to match future knowledge units to this domain, so related material that arrives later keeps landing in the right place.
Without a description, the folder name might or might not be used as a domain. ORQO instead lets the extracted content settle into whichever existing domains fit best by semantic similarity (derived from embeddings).
Describe a folder when you want it to be an authoritative, named domain in the graph — a deliberate collection like "Contracts" or "Bird Migration." Leave the description blank when you'd rather let the classifier decide, by meaning, where each piece of content belongs.
4. Organize existing documents
To move a document, drag it onto another folder in the column browser. While dragging, hovering over a folder drills into it (spring-loaded), so you can drop a file deep in the tree in one motion. You can also rename folders -- all documents and subfolders inside move automatically.
To delete a folder, it must be empty first. Move or delete its documents, then remove the folder.
5. Search for a document
To find a document quickly, use the search box above the document browser (to the right). Start typing and ORQO searches your documents by name across every folder, showing a flat list of matches. Each result includes the folder it lives in, so you can tell similarly named files apart.
Click a result to open it. Clear the box with the × to return to the normal folder browser.
Search matches document names, not the text inside the files.
6. Monitor classification status
When Knowledge Graph is enabled, uploaded documents are classified automatically. Each document shows a status badge:
| Badge | Meaning |
|---|---|
| Pending | Waiting to be classified |
| Curating | The Knowledge Curator is evaluating the content |
| Classifying | The 3-pass classifier is running |
| Classified | Complete -- shows the number of knowledge units created |
| Failed | Classification failed -- hover the badge for the error message |
Classification updates arrive in real time via WebSocket. You do not need to refresh the page. A classified document's green badge shows the number of knowledge units it added to the graph.
7. Re-classify a document
If you update a document's content or want to re-run classification, open the document and click Classify. This purges the old knowledge units and runs a fresh classification pass.
8. Edit document content
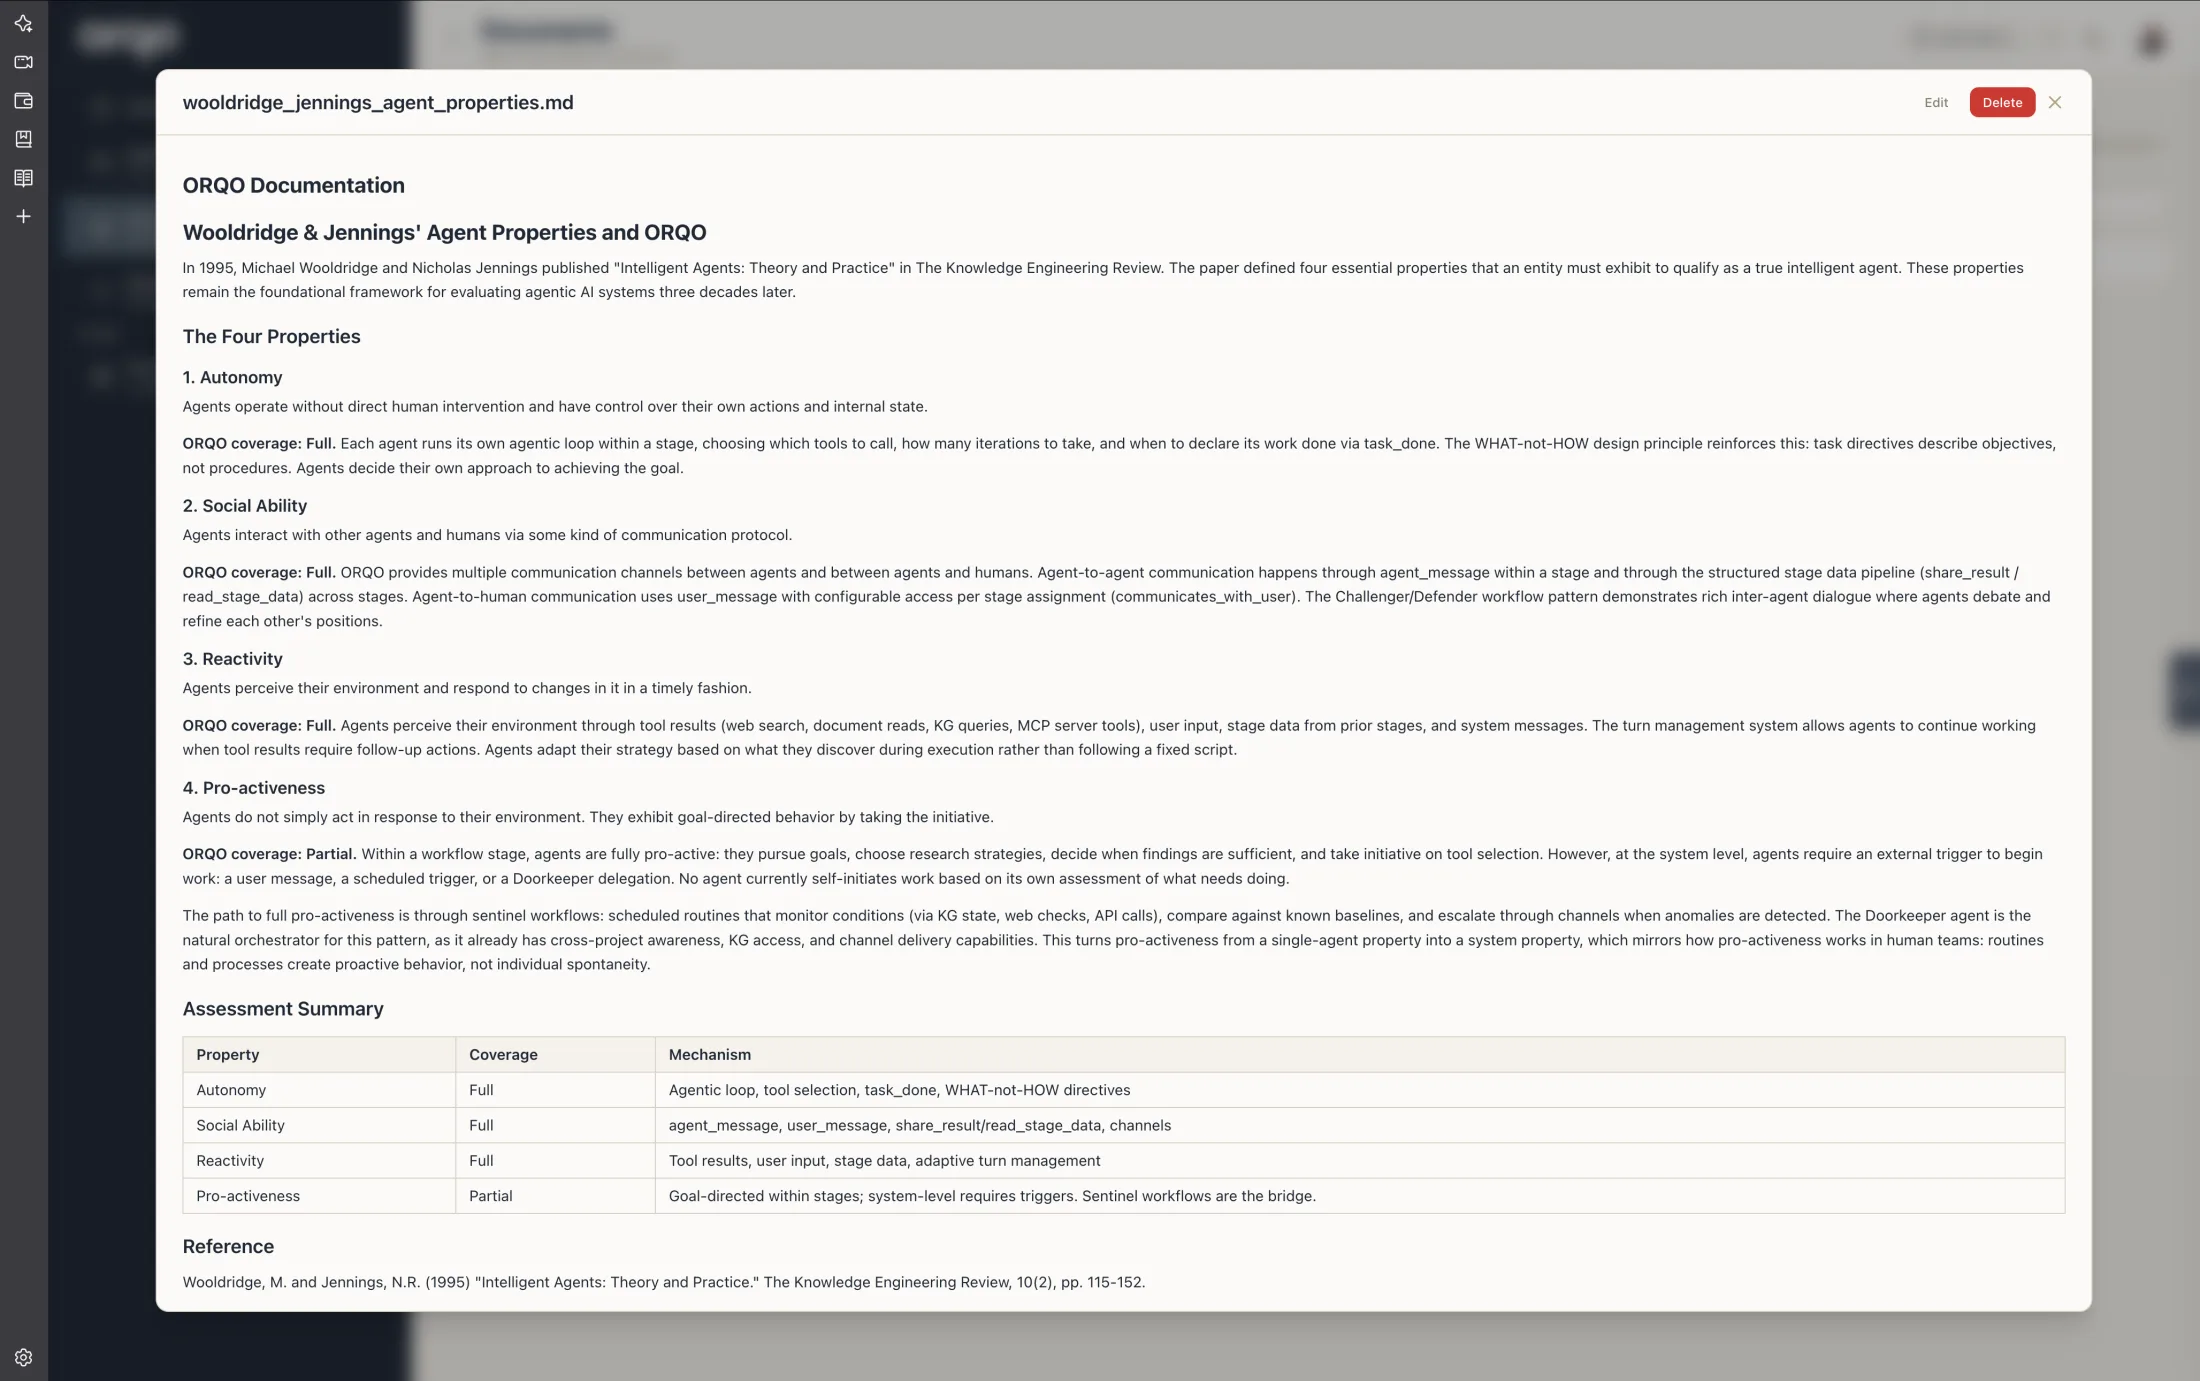
Click a document to open the document viewer. Markdown files can be edited inline. Click Save to re-upload the updated content to storage.
9. Delete a document
Open the document in the viewer and click Delete. This removes the file from storage and removes any knowledge graph entries it created.
For documents synced from a Document Source, deleting here does not remove the file from the external source (GitHub, Google Drive, your local directory). What happens next depends on the source type, and the confirmation message tells you which case applies:
- Runtime sources (Desktop App, SSH): the file re-appears on the next sync, because the source re-imports every file it still sees. To stop syncing it, exclude it with the source's file filter, move it to an
_archivefolder, or disconnect the source. - App sources (GitHub, Google Drive): the deletion sticks, but the file won't be re-synced unless you change it at the source.
To keep a synced file in your library but out of the knowledge graph, move it into an _archive folder instead of deleting it. Archived files stay visible but are never classified.
What's next
- Connect Document Sources to auto-sync files from GitHub, Google Drive, or local directories
- Use the AI Assistant to ask questions about your documents
- Create a Workflow that processes documents automatically